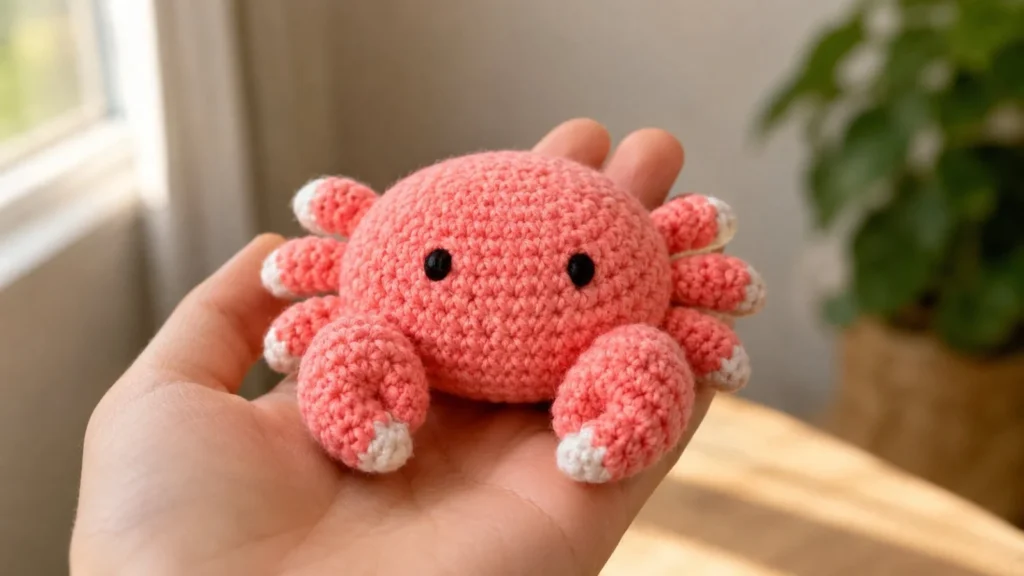
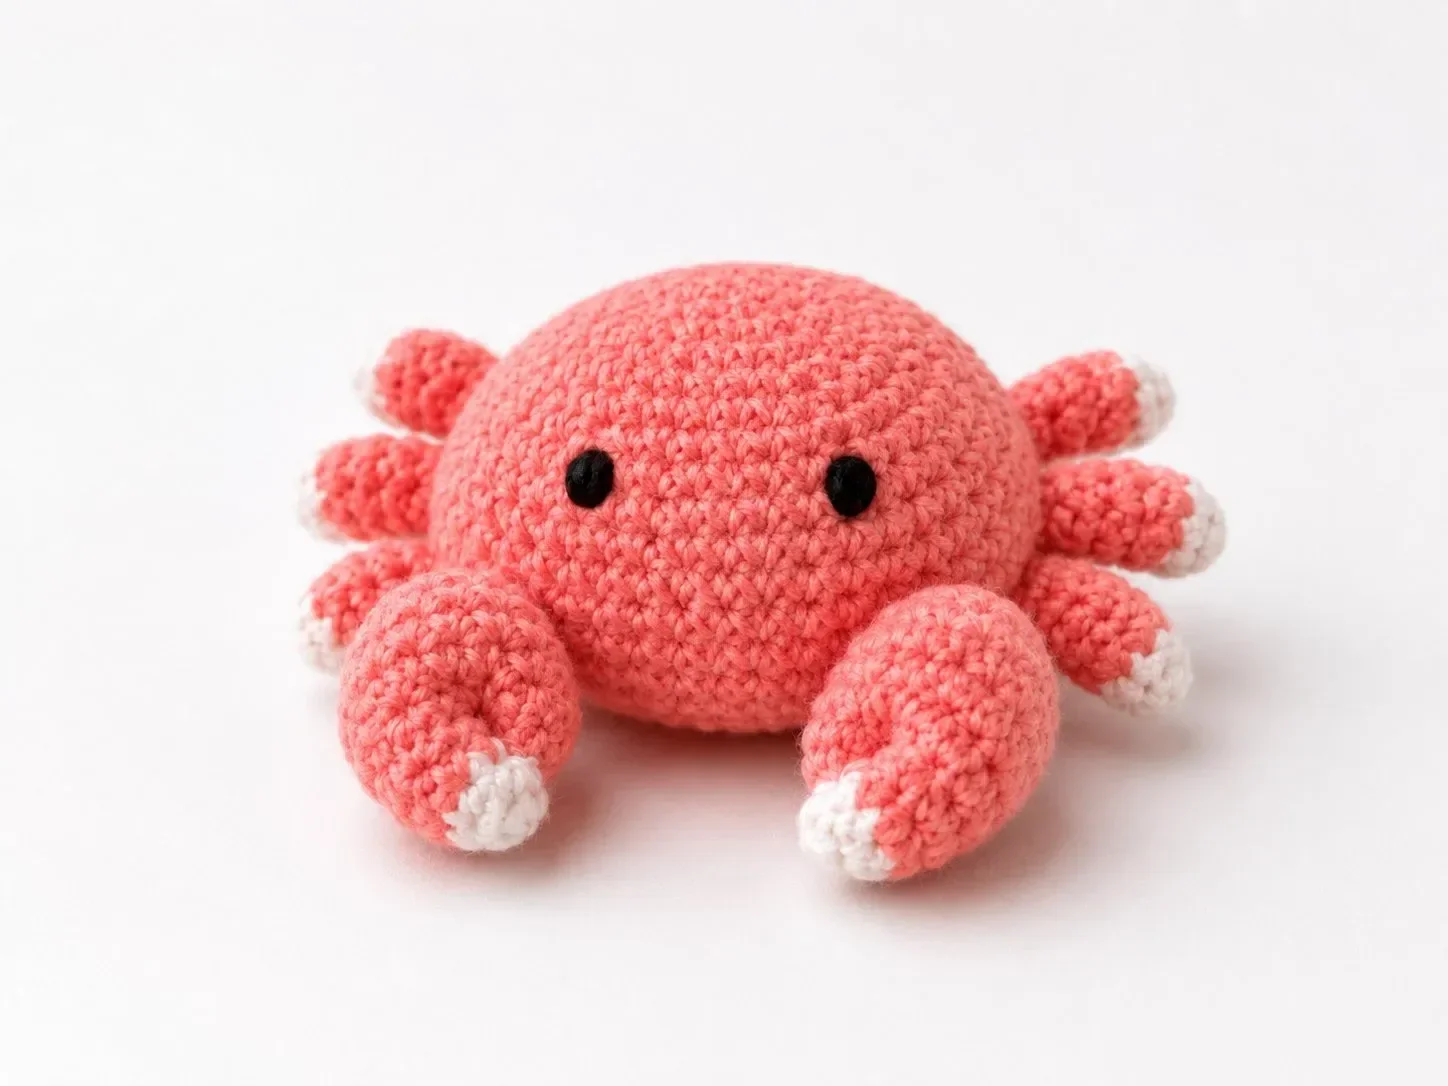
This sweet little pocket crab is soft, tiny, and full of charm. With a rounded body, tiny side legs, chunky front claws, and little white-tipped details, it makes a cute handmade gift, desk buddy, market item, or ocean-themed nursery decoration.
The best part is that this is a no-sew amigurumi crab pattern. The body is crocheted as one soft oval shape, and the legs and claws are crocheted directly onto the body, so there is no need to sew separate pieces together.
About This Pocket Crab Pattern
This design is made to be small, soft, and beginner-friendly. The crab has a simple oval body, six small side legs, and two larger front claws. The white tips give it a sweet coastal look, and the black eyes keep the face clean and minimal.
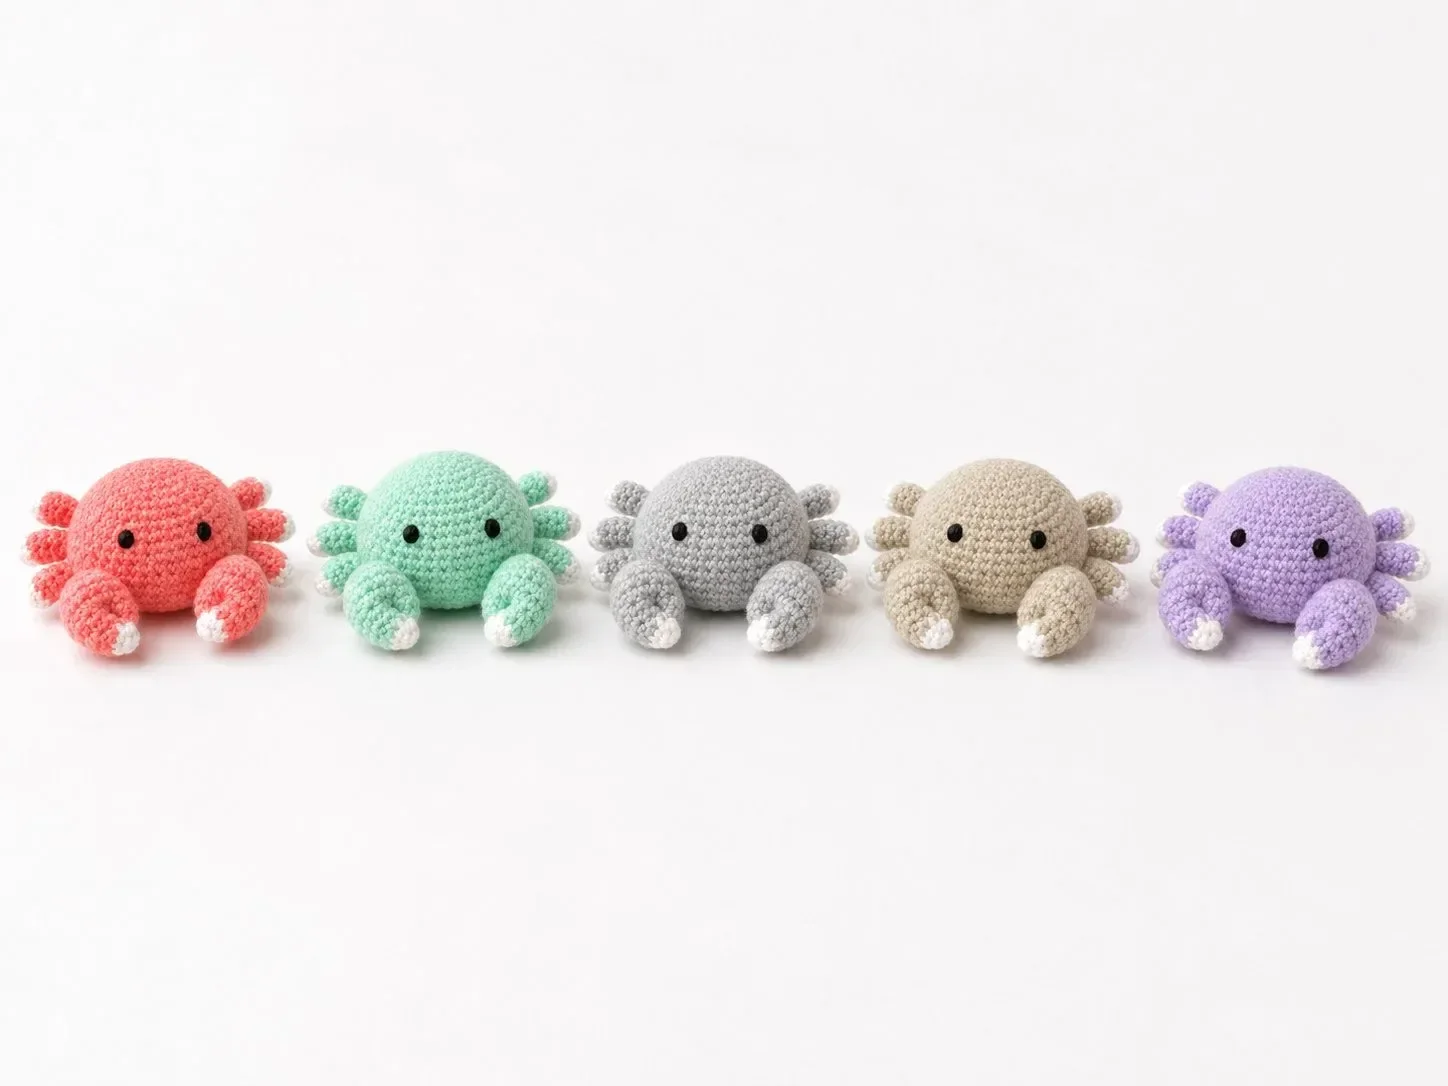
You can make it in coral red, mint green, soft gray, sandy beige, lavender, or any pastel color you love. A full set of colorful crabs looks especially cute as a handmade ocean collection.
Finished Size
The finished crab measures about 8–10 cm wide, depending on your yarn, hook size, and tension.
Skill Level
Easy / confident beginner
You should know how to make:
- Magic ring
- Single crochet
- Increase
- Invisible decrease
- Slip stitch
- Basic color change
- Crocheting in continuous rounds
Materials
- Main color yarn: coral, red, mint, gray, beige, or lavender
- White yarn for claw and leg tips
- Black safety eyes, 6–8 mm, or black yarn for embroidered eyes
- 2.5 mm or 3 mm crochet hook
- Fiberfill stuffing
- Stitch marker
- Yarn needle
- Scissors
For a tiny pocket version, cotton or acrylic yarn works best. For a softer plush version, use chenille yarn and a larger hook.
Abbreviations
This pattern uses US crochet terms.
- MR = magic ring
- ch = chain
- st = stitch
- sl st = slip stitch
- sc = single crochet
- inc = increase, 2 sc in one stitch
- dec = invisible decrease
- FO = fasten off
Pattern Notes
Work in continuous rounds unless stated otherwise. Use a stitch marker to mark the first stitch of each round.
The crab body is made first. The claws and legs are then crocheted directly onto the body using an anchor method. This keeps the pattern no-sew. You will still weave in yarn tails, but you will not sew separate pieces onto the crab.
Place the safety eyes before closing the body. If this crab is intended for babies or very young children, embroider the eyes instead of using safety eyes.
Crochet Pattern
Body
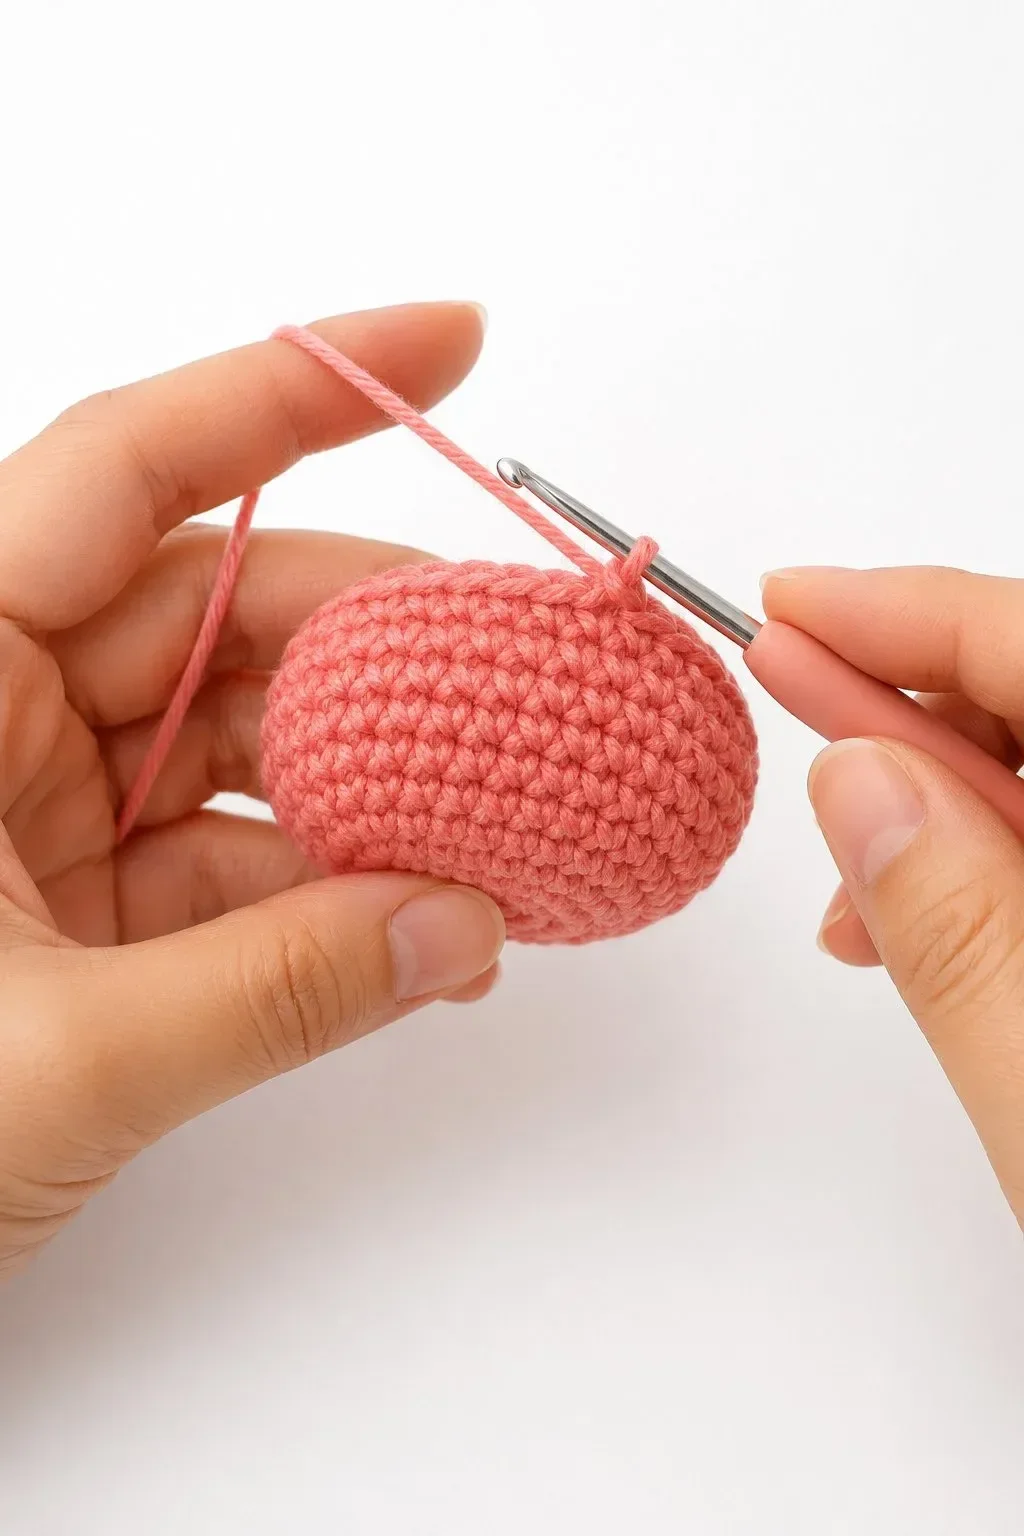
Use your main color yarn.
Round 1: Ch 8. Starting in the 2nd ch from the hook, sc 6, 3 sc in the last ch. Working along the other side of the chain, sc 5, inc in the last ch.
16 sts
Round 2: Inc in next 2 sts, sc 4, inc in next 4 sts, sc 4, inc in next 2 sts.
24 sts
Round 3: (sc 1, inc) x2, sc 4, (sc 1, inc) x4, sc 4, (sc 1, inc) x2.
32 sts
Round 4: (sc 2, inc) x2, sc 4, (sc 2, inc) x4, sc 4, (sc 2, inc) x2.
40 sts
Rounds 5–9: Sc around.
40 sts
Insert the safety eyes between rounds 6 and 7, about 6–7 stitches apart. Position them on one long side of the oval body. This will be the front of the crab.
Round 10: (sc 6, dec) x5.
35 sts
Round 11: (sc 5, dec) x5.
30 sts
Start stuffing the body. Keep it firm but still soft and slightly squishy.
Round 12: (sc 3, dec) x6.
24 sts
Round 13: (sc 2, dec) x6.
18 sts
Add more stuffing if needed.
Round 14: (sc 1, dec) x6.
12 sts
Round 15: Dec around.
6 sts
FO, leaving a short tail. Close the opening with a yarn needle and weave in the end.
Direct Crochet Anchor Method
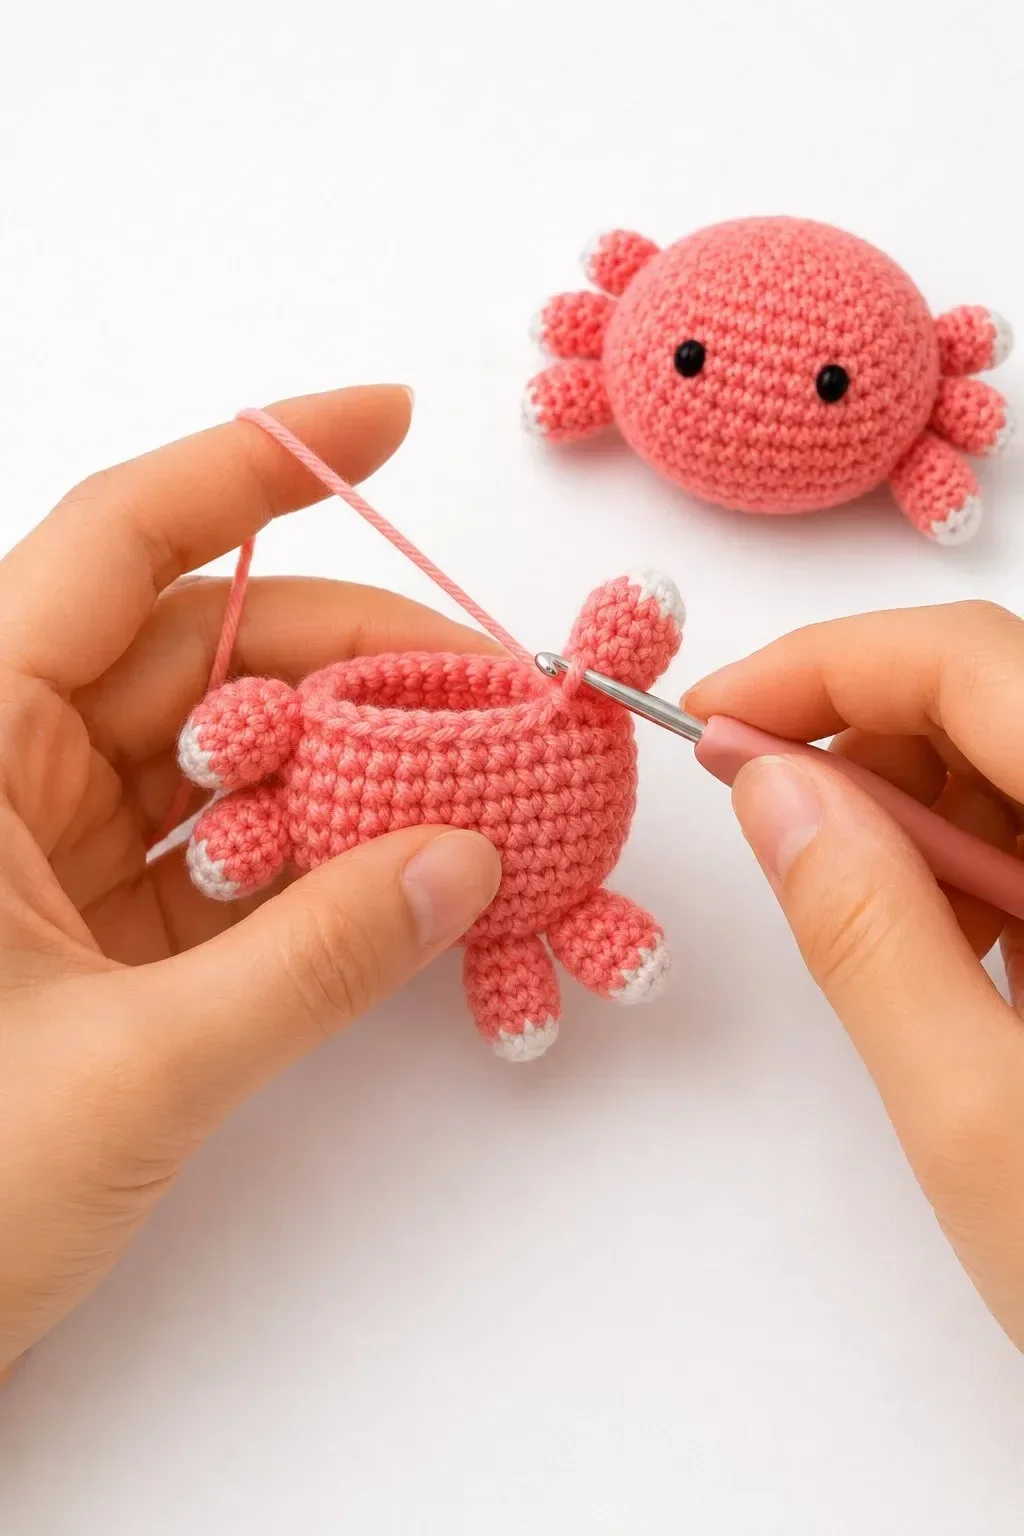
Use this method for all claws and legs.
Insert your hook under one stitch on the crab body where you want the limb to begin. Pull up a loop of yarn and ch 1 to secure it. Insert your hook under the next nearby stitch and sl st. This creates a small anchor bridge.
Now crochet the first round of the claw or leg around that little bridge. This attaches the limb directly to the body with no sewing.
Front Claws
Make 2 directly onto the lower front of the body, one under each eye area.
Use main color yarn.
Round 1: Work 8 sc around the anchor bridge.
8 sts
Round 2: (sc 1, inc) x4.
12 sts
Rounds 3–5: Sc around.
12 sts
Stuff the claw very lightly.
Switch to white yarn.
Round 6: Sc around.
12 sts
Round 7: (sc 1, dec) x4.
8 sts
Round 8: Dec around until closed, or dec 4 times and close the small opening with the yarn tail.
FO and weave in the end.
Repeat for the second claw.
The claws should sit at the front of the crab and point slightly forward. Shape them gently with your fingers so they look rounded and soft.
Side Legs
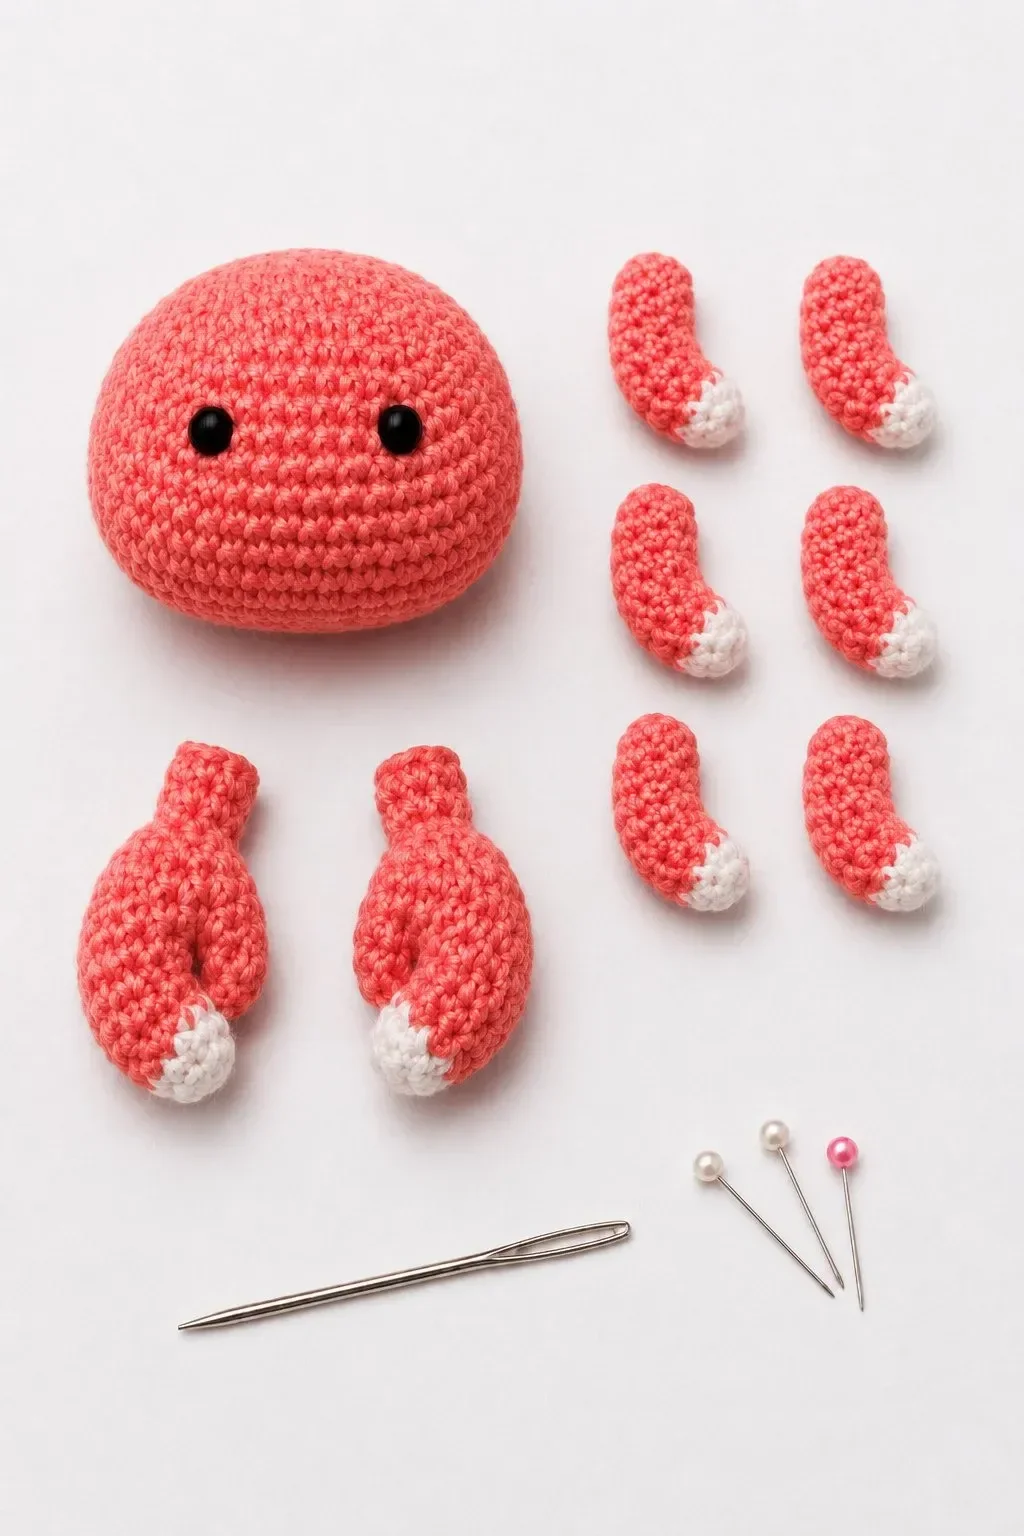
Make 3 small legs on each side of the body.
Use main color yarn.
Attach the yarn to the side of the crab using the direct crochet anchor method.
Round 1: Work 6 sc around the anchor bridge.
6 sts
Rounds 2–4: Sc around.
6 sts
Switch to white yarn.
Round 5: Sc around.
6 sts
Round 6: Dec around until closed, or dec 3 times and close the small opening with the yarn tail.
FO and weave in the end.
Repeat until you have 3 legs on each side.
Place the legs in a slight curve along both sides of the body. The first leg should be close to the front claw, the second leg near the middle, and the third leg near the back.
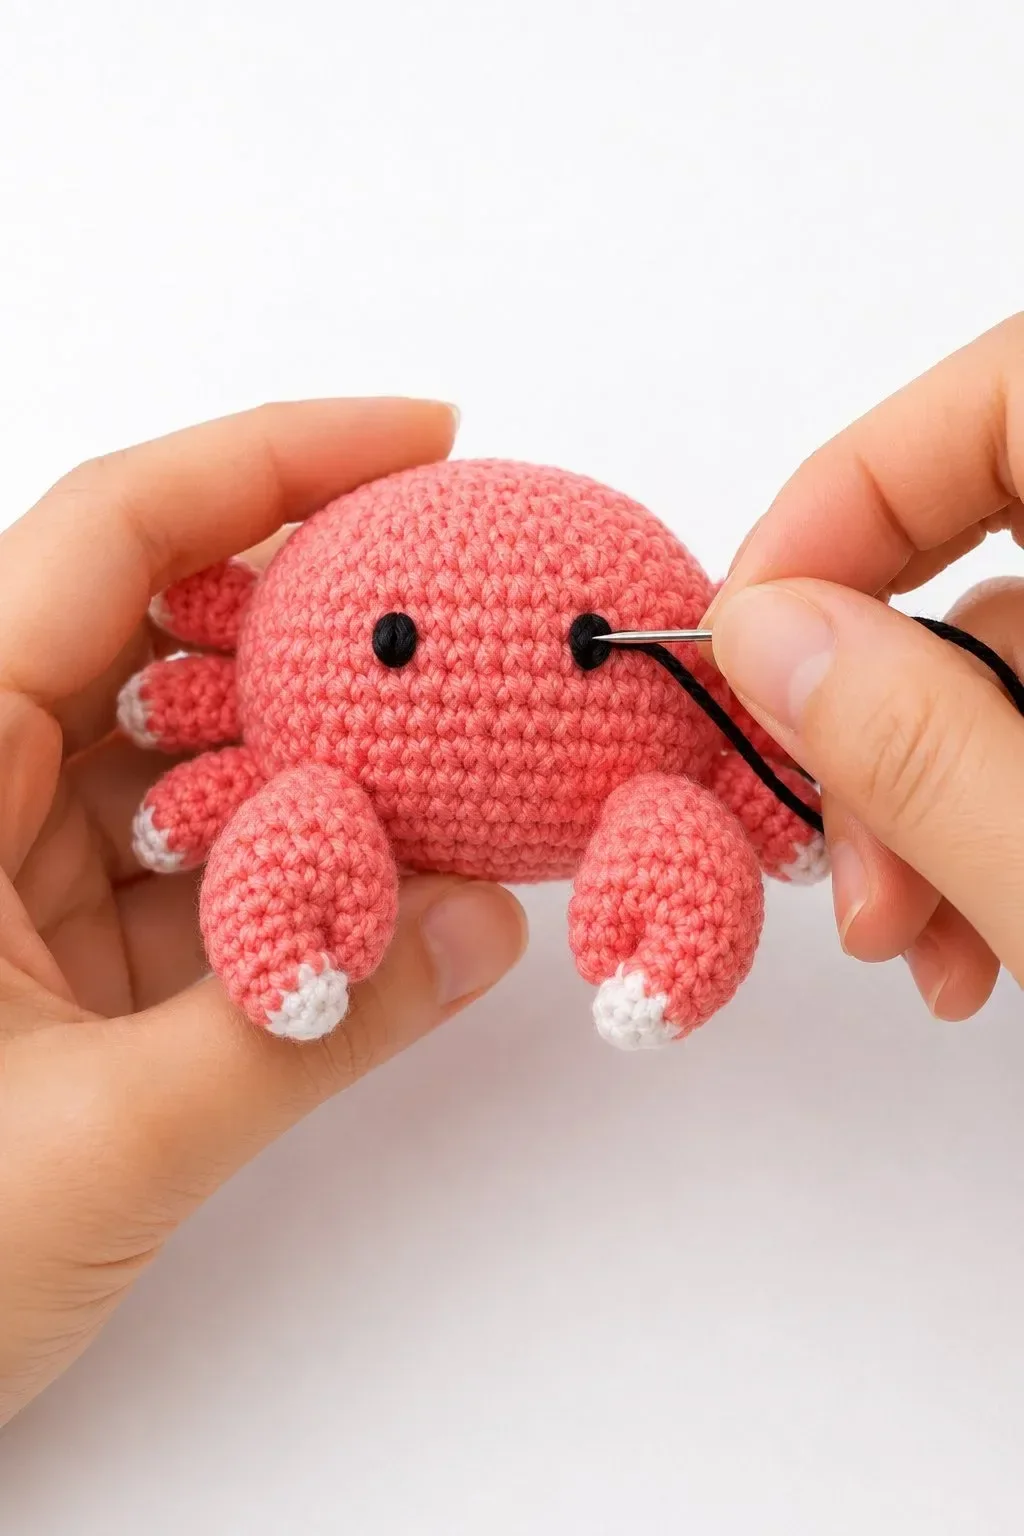
Optional Embroidered Eyes
For a baby-safe version, do not use safety eyes.
Using black yarn, make a few small vertical stitches where each eye should go. Keep the eyes simple and close together for a sweet pocket-softie look.
You can also add a tiny stitched smile, but the crab looks very cute with only simple black eyes.
Finishing
Check that all yarn ends are woven in securely. Gently shape the body into a soft oval. Adjust the claws so they sit forward, and curve the small legs slightly outward.
Your no-sew pocket crab is finished.
Color Ideas
This pattern looks beautiful in soft, beachy colors:
- Coral crab with white tips
- Mint crab with cream tips
- Gray crab with white tips
- Sandy beige crab with ivory tips
- Lavender crab with white tips
- Pastel rainbow crab set
You can also make a family of tiny crabs in different colors for craft fairs, keychains, baby mobiles, or ocean-themed gifts.
Tips for a Neater Crab
Use a smaller hook than the yarn label recommends. This keeps the stitches tight and prevents stuffing from showing.
Stuff the body firmly, but do not overstuff the claws and legs. Light stuffing helps the small limbs stay soft and rounded.
When changing to white yarn for the tips, make the final pull-through of the last main-color stitch using the white yarn. This creates a cleaner color change.
For the no-sew limbs, keep your anchor points close together. A small anchor bridge gives the claw or leg a stronger, cleaner attachment.
Make It Into a Keychain
To turn your crab into a keychain, attach a small keyring or lobster clasp to the top center of the body. Use strong thread or yarn and secure it through several stitches.
A pocket crab keychain looks especially cute in bright coral, lavender, or mint green.
Frequently Asked Questions
Is this crab really no-sew?
Yes. The body is crocheted as one piece, and the claws and legs are crocheted directly onto the body. You do not need to sew separate parts together.
Can beginners make this pattern?
Yes, but it is best for beginners who already know how to crochet in the round. The body is simple, and the direct-crochet limbs are easy once you understand the anchor method.
Can I use plush yarn?
Yes. Plush or chenille yarn will make a larger, softer crab. Use a larger hook and bigger safety eyes. The finished toy will be more cuddly but less “pocket-sized.”
Can I make the crab smaller?
Yes. Use thinner yarn and a smaller hook. Cotton sport weight yarn with a 2 mm hook will make a very tiny crab.
Are safety eyes safe for babies?
No. Safety eyes are not recommended for babies or very young children. Use embroidered eyes for a baby-safe version.
Can I sell finished crabs made from this pattern?
Yes, you can sell finished handmade crabs. Use your own photos when listing them online or at markets.
Final Thoughts
This no-sew pocket crab is small, soft, and wonderfully quick to make. The simple oval body, tiny side legs, and chunky white-tipped claws give it a playful handmade look without complicated assembly.
Make one in coral for a classic crab, then try mint, gray, beige, and lavender for a full collection of sweet softies.