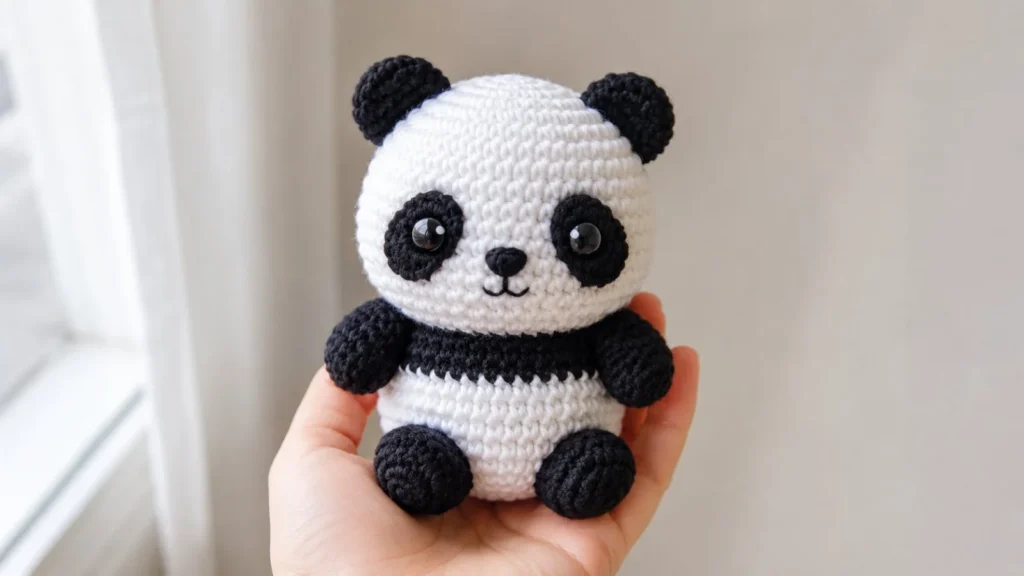
This Giant Panda Cub Amigurumi Crochet Pattern is a sweet handmade project for anyone who loves soft, rounded crochet animals. With its classic black-and-white colors, tiny ears, glossy eyes, small paws, and gentle baby-panda face, this little cub makes a beautiful handmade gift, nursery decoration, desk buddy, or market-table favorite.
The design is beginner-friendly but still detailed enough to feel special. You will crochet the head, body, ears, arms, legs, eye patches, and small face details separately, then assemble everything into a cuddly sitting panda cub.
Why You’ll Love This Panda Cub
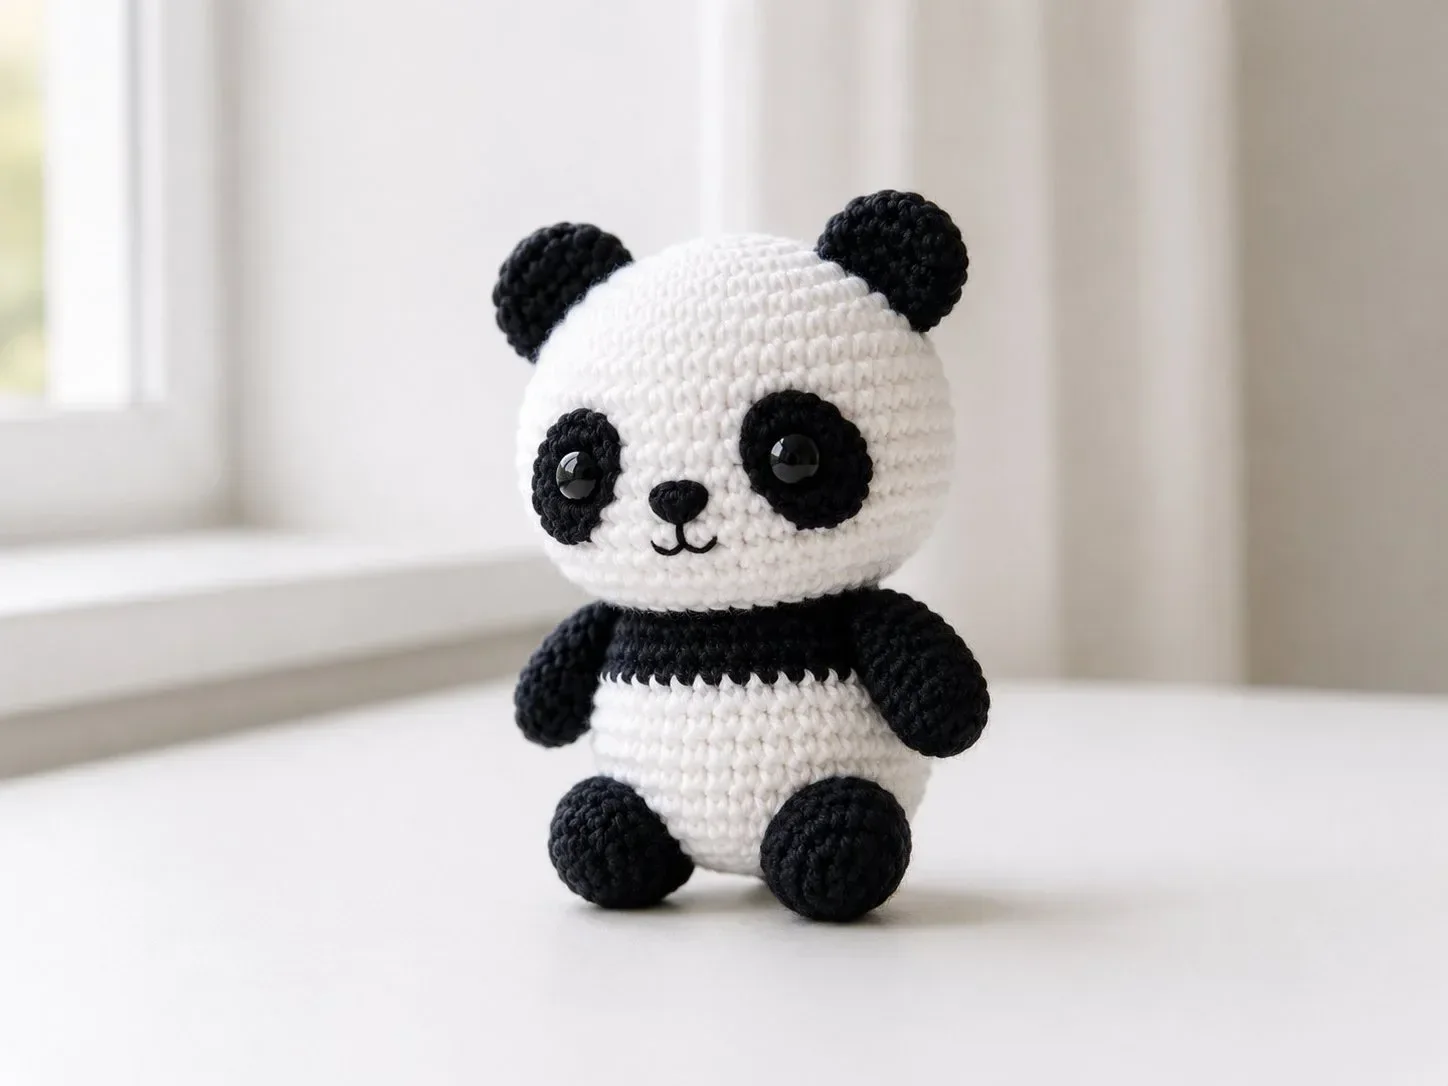
This panda has the perfect soft toy look: a big round head, small black ears, a chubby body, and short rounded limbs. The black band across the upper body gives it that instantly recognizable panda look, while the shiny eyes and embroidered nose make the face feel gentle and expressive.
It is also easy to customize. Make the classic black-and-white version, or try cream and charcoal for a softer nursery style. You can also add a tiny bow, scarf, blush cheeks, or sleepy embroidered eyes.
Finished Size
The finished panda is approximately 15–18 cm tall, depending on your yarn, hook size, and tension.
Cotton yarn gives a clean, firm finish with visible stitches. Plush or chenille yarn creates a larger, softer, cuddlier panda.
Skill Level
Beginner to easy intermediate
You should know how to make:
- Magic ring
- Single crochet
- Increase
- Invisible decrease
- Slip stitch
- Simple color change
- Basic sewing
- Basic embroidery
Materials Needed
- White yarn for the head, lower body, and face
- Black yarn for ears, eye patches, arms, legs, and upper body band
- Black embroidery thread or thin black yarn for the nose and mouth
- 2 black safety eyes, 8–10 mm
- Crochet hook suitable for your yarn
- Fiberfill stuffing
- Yarn needle
- Stitch marker
- Scissors
- Sewing pins
Abbreviations
This pattern uses US crochet terms.
- MR = magic ring
- ch = chain
- st = stitch
- sl st = slip stitch
- sc = single crochet
- inc = increase, 2 sc in the same stitch
- dec = invisible decrease
- BLO = back loop only
- FO = fasten off
Pattern Notes
Work in continuous rounds unless stated otherwise. Use a stitch marker to mark the first stitch of each round.
Stuff the head and body firmly, but do not overstuff. The ears, arms, and legs should be lightly stuffed so they stay soft and rounded.
If this panda is intended for a baby or toddler, embroider the eyes instead of using safety eyes.
Crochet Pattern
Head
Use white yarn.
Round 1: MR, 6 sc.
Round 2: inc around.
12 sts
Round 3: (sc 1, inc) x6.
18 sts
Round 4: (sc 2, inc) x6.
24 sts
Round 5: (sc 3, inc) x6.
30 sts
Round 6: (sc 4, inc) x6.
36 sts
Round 7: (sc 5, inc) x6.
42 sts
Round 8: (sc 6, inc) x6.
48 sts
Rounds 9–16: sc around.
48 sts
Round 17: (sc 6, dec) x6.
42 sts
Round 18: (sc 5, dec) x6.
36 sts
Round 19: (sc 4, dec) x6.
30 sts
Start stuffing the head.
Round 20: (sc 3, dec) x6.
24 sts
Round 21: (sc 2, dec) x6.
18 sts
Add more stuffing.
Round 22: (sc 1, dec) x6.
12 sts
Round 23: dec around.
6 sts
FO, close the opening, and weave in the end.
Eye Patches
Make 2 with black yarn.
Round 1: MR, 6 sc.
Round 2: inc around.
12 sts
Round 3: (sc 1, inc) x6.
18 sts
Sl st into the first stitch.
FO, leaving a long tail for sewing.
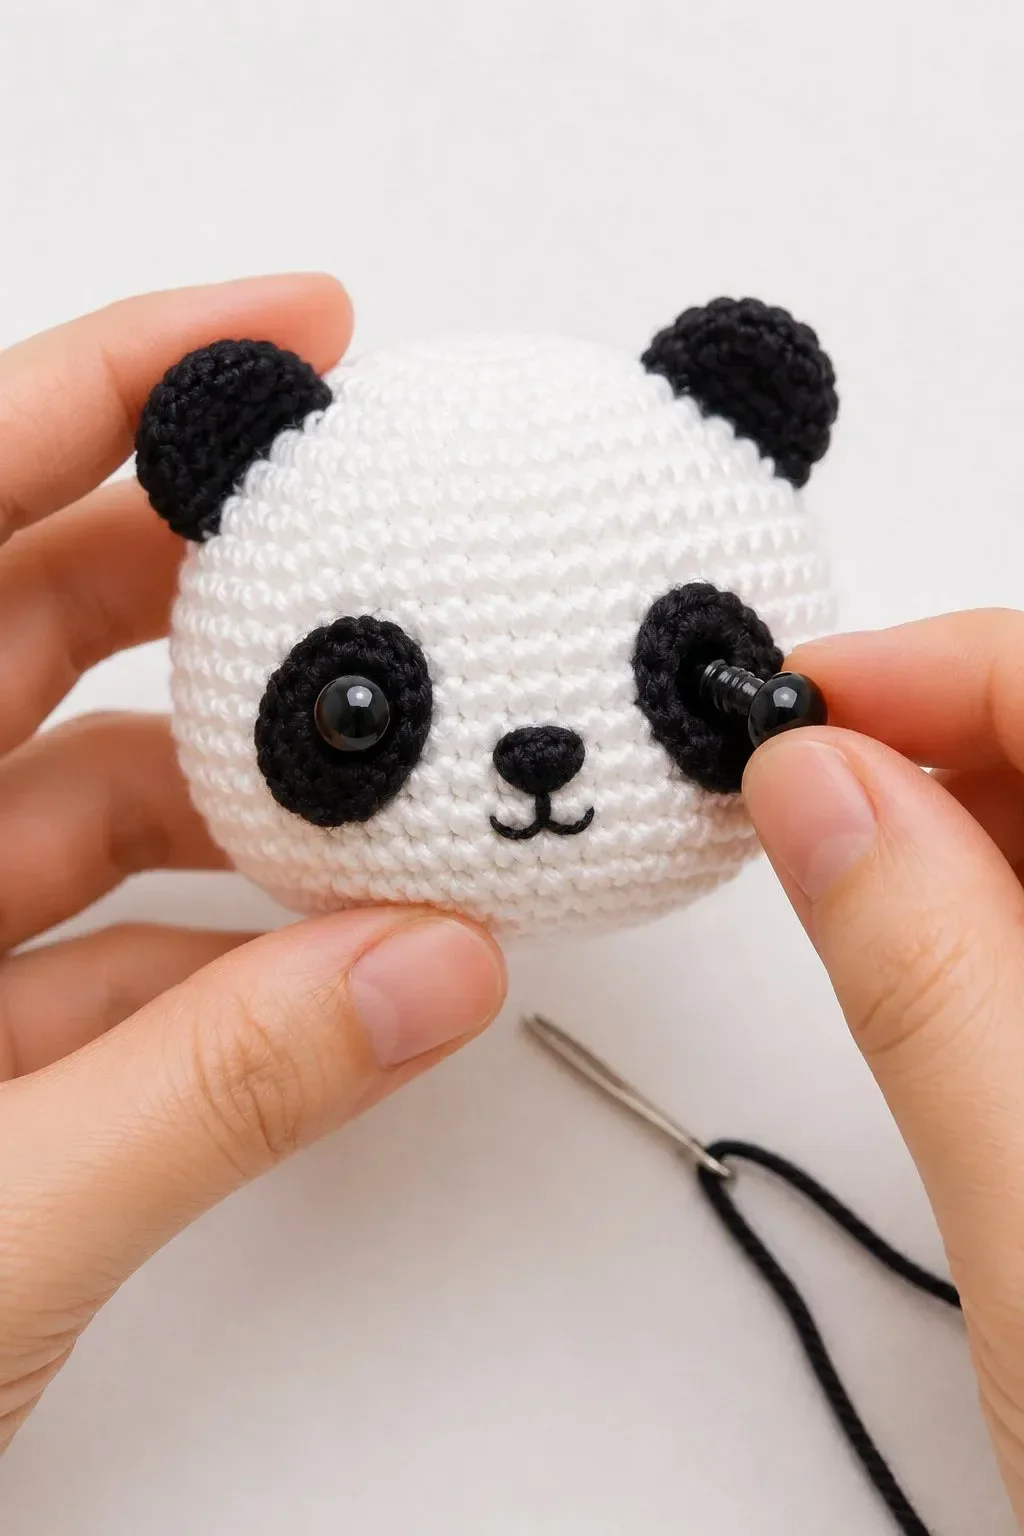
Shape each patch into a soft oval. Place them on the front of the head, slightly angled inward. Insert the safety eye through the center of each patch and then through the head before attaching the washer.
Suggested placement: between rounds 11 and 12 of the head, about 8–9 stitches apart.
Nose and Mouth
Use black embroidery thread or thin black yarn.
Embroider a small oval nose between the eye patches, slightly below eye level. Then stitch a short vertical line downward from the nose and add two small curved mouth lines.
Keep the expression soft and minimal. A tiny mouth gives the panda a gentle baby-cub look.
Ears
Make 2 with black yarn.
Round 1: MR, 6 sc.
Round 2: inc around.
12 sts
Round 3: (sc 1, inc) x6.
18 sts
Rounds 4–6: sc around.
18 sts
Round 7: (sc 1, dec) x6.
12 sts
Lightly stuff.
FO, leaving a long tail for sewing.
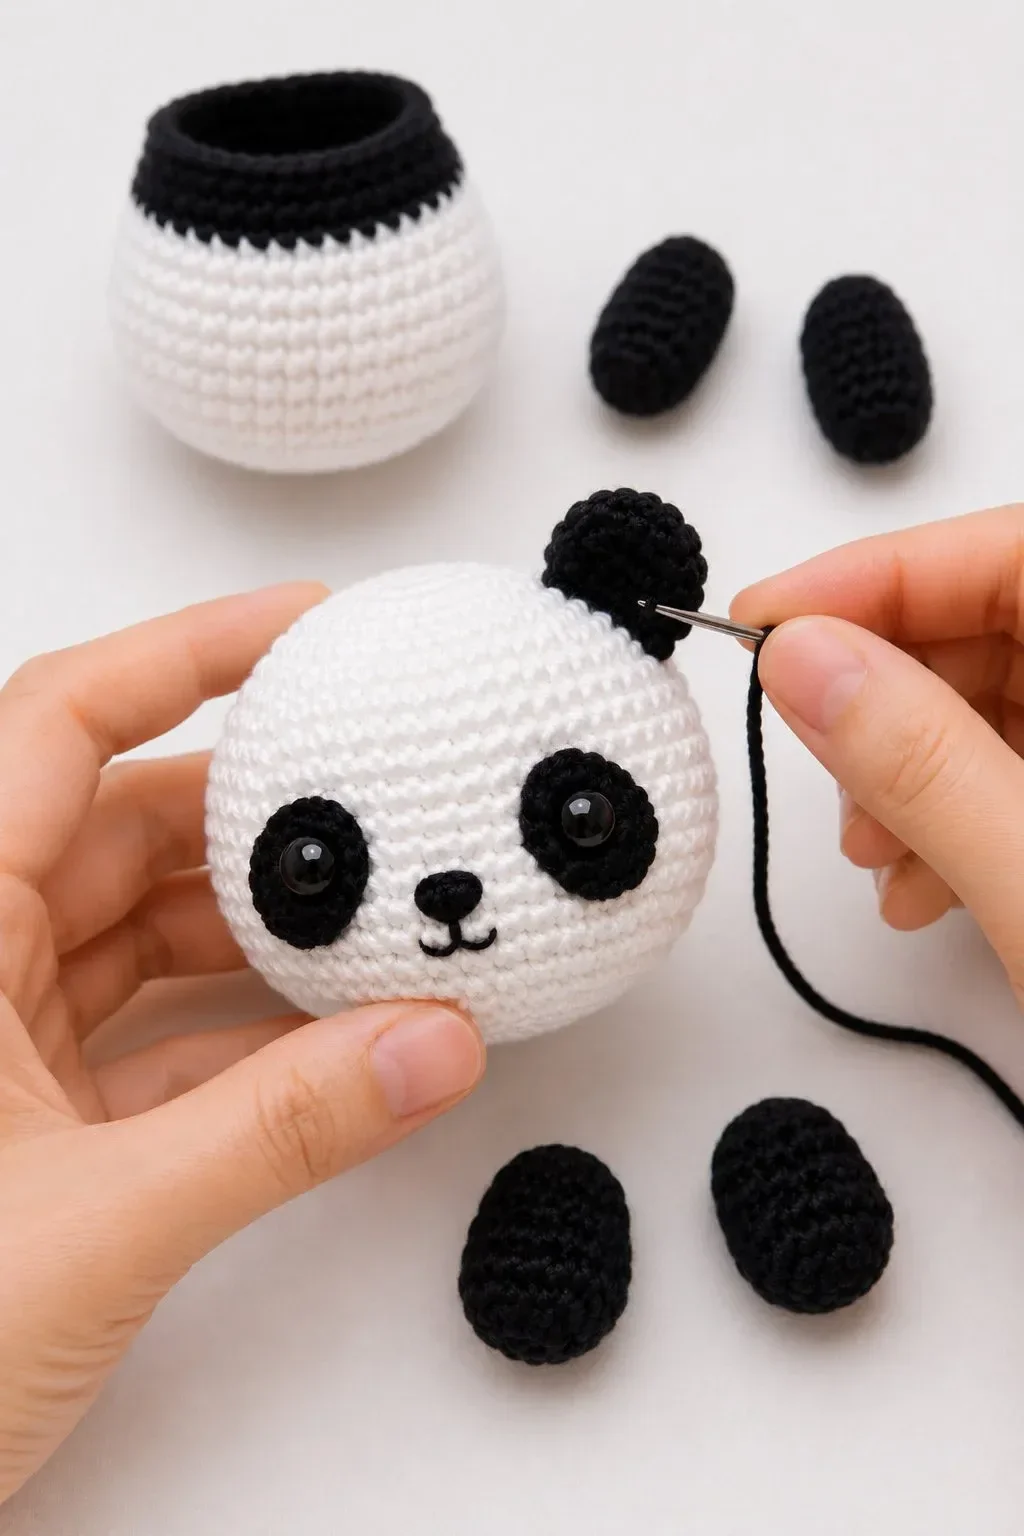
Flatten the base slightly and sew the ears to the top sides of the head. Place them around rounds 5–8, one on each side.
Body
Start with black yarn.
Round 1: MR, 6 sc.
Round 2: inc around.
12 sts
Round 3: (sc 1, inc) x6.
18 sts
Round 4: (sc 2, inc) x6.
24 sts
Round 5: (sc 3, inc) x6.
30 sts
Round 6: (sc 4, inc) x6.
36 sts
Rounds 7–9: sc around with black yarn.
36 sts
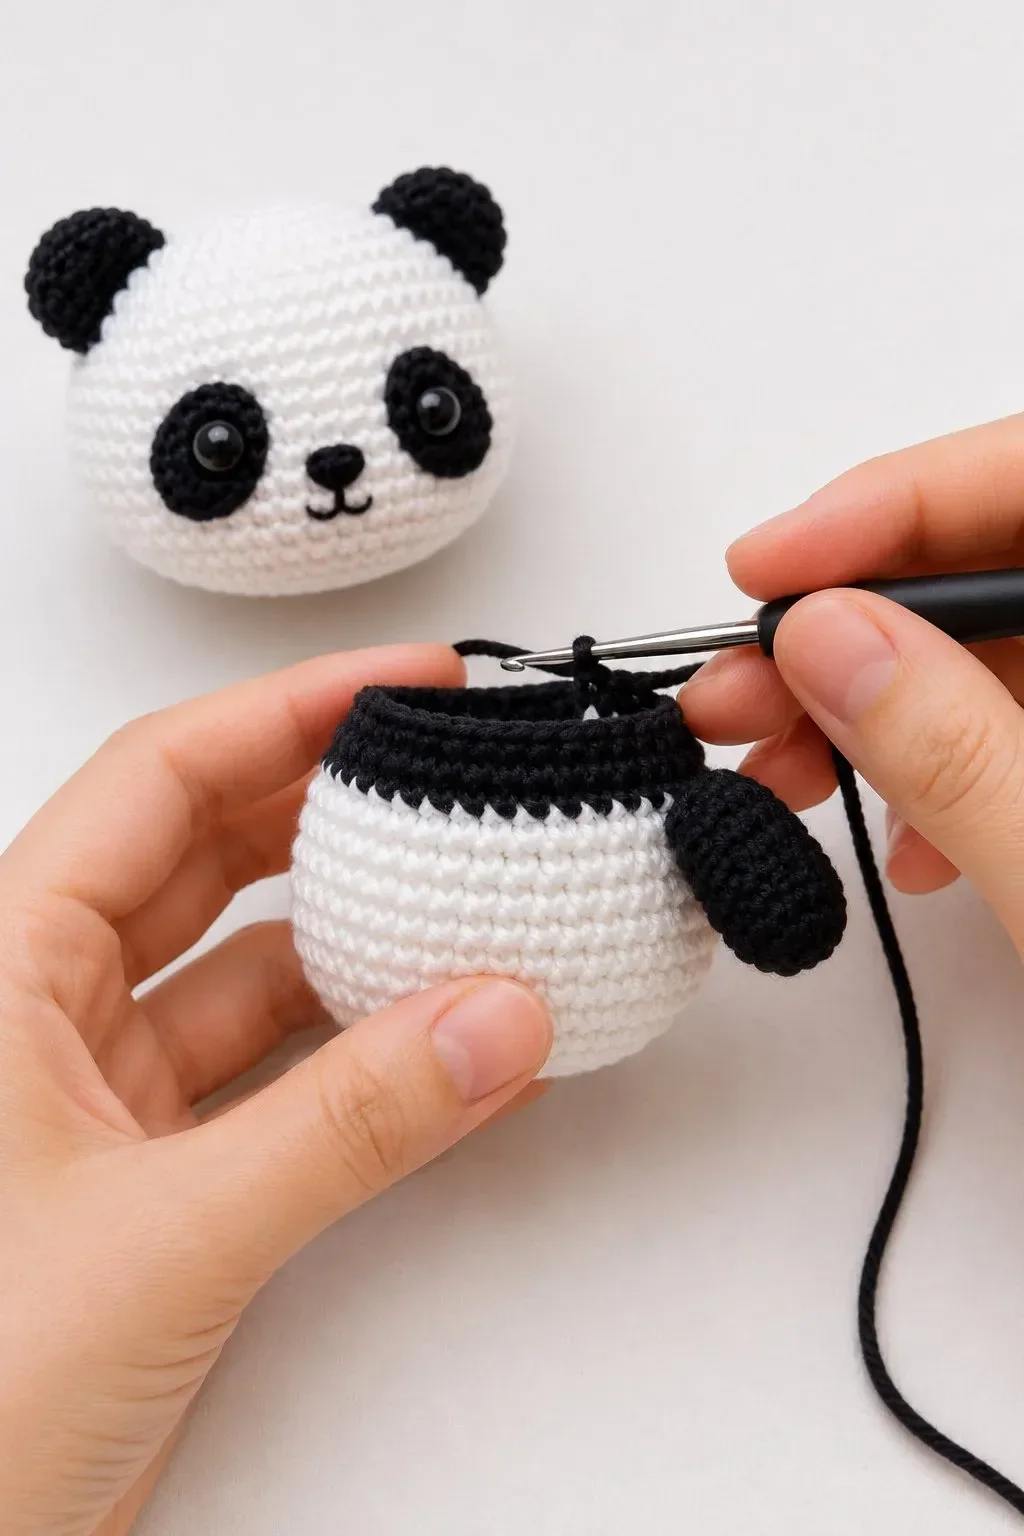
Switch to white yarn.
Rounds 10–15: sc around.
36 sts
Round 16: (sc 4, dec) x6.
30 sts
Round 17: (sc 3, dec) x6.
24 sts
Start stuffing the body.
Round 18: (sc 2, dec) x6.
18 sts
Round 19: (sc 1, dec) x6.
12 sts
Add more stuffing.
Round 20: dec around.
6 sts
FO, close the opening, and leave a long tail for sewing the body to the head.
The black rounds create the panda’s upper body band. When assembled, this should sit just below the head.
Arms
Make 2 with black yarn.
Round 1: MR, 6 sc.
Round 2: (sc 1, inc) x3.
9 sts
Rounds 3–8: sc around.
9 sts
Lightly stuff the lower half only.
Flatten the opening and crochet 4 sc across both layers to close.
FO, leaving a long tail for sewing.
Sew the arms to the sides of the body, just below the black upper band. Angle them slightly downward for a relaxed sitting pose.
Legs
Make 2 with black yarn.
Round 1: MR, 6 sc.
Round 2: inc around.
12 sts
Round 3: (sc 1, inc) x6.
18 sts
Rounds 4–6: sc around.
18 sts
Round 7: (sc 1, dec) x6.
12 sts
Rounds 8–9: sc around.
12 sts
Lightly stuff.
Flatten the opening and crochet 6 sc across both layers to close.
FO, leaving a long tail for sewing.
Sew the legs to the lower front of the body so the panda sits upright. Place them slightly apart for a cute rounded look.
Optional Tail
Use white yarn.
Round 1: MR, 6 sc.
Round 2: inc around.
12 sts
Round 3: sc around.
12 sts
FO, leaving a tail for sewing.
Lightly stuff and sew to the back of the body.
Assembly
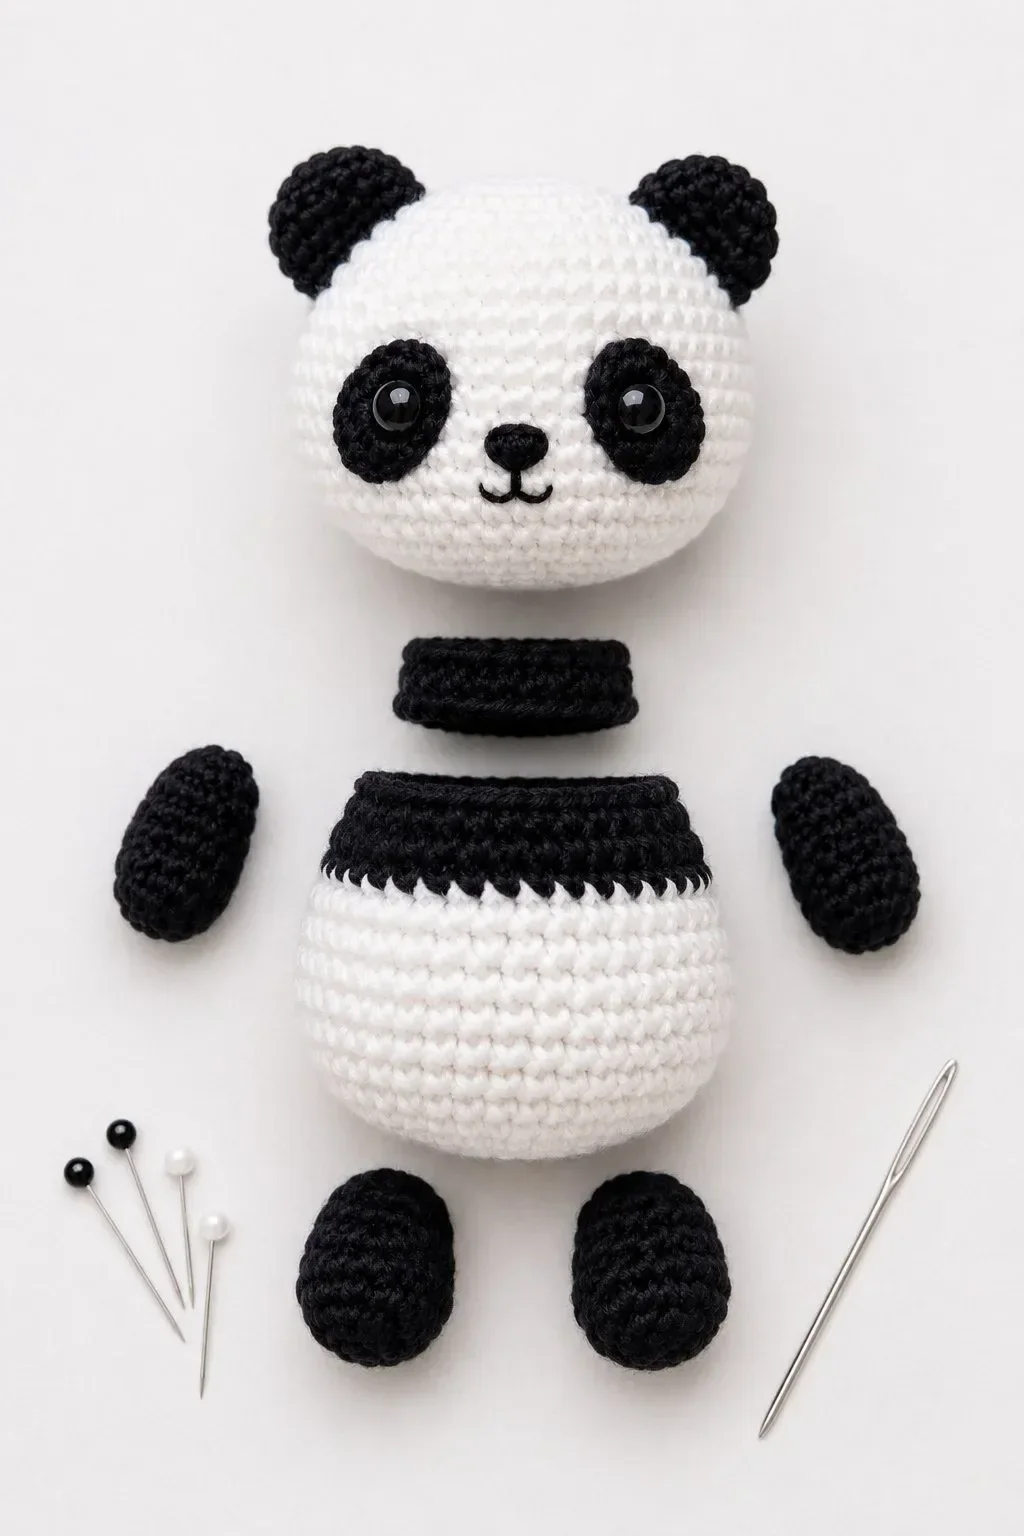
Pin all pieces before sewing. This helps you check the balance and expression.
First, sew the body to the bottom of the head. Make sure the black band sits directly under the head.
Next, sew the ears to the top sides of the head. Then position the eye patches and safety eyes if you have not secured them already.
Sew the arms to the sides of the body, then sew the legs to the lower front. Add the optional tail to the back.
Finally, embroider the nose and mouth. Weave in all yarn ends securely.
Beginner Tips
Use stitch markers so you do not lose your round count. Panda parts are simple, but small counting mistakes can affect symmetry.
Stuff gradually as you crochet. This helps keep the head and body smooth.
Pin the ears, arms, and legs before sewing. A few millimeters can change the final expression, especially on the face.
Use a smaller hook than the yarn label recommends. Tight stitches prevent stuffing from showing through.
For clean color changes on the body, change color during the final yarn-over of the last stitch before the new round.
Customization Ideas
You can make this panda extra special with simple details:
- Add a tiny crochet scarf
- Add a small bow near one ear
- Embroider sleepy eyes instead of using safety eyes
- Add soft pink cheeks
- Use cream and charcoal for a nursery version
- Make a mini version with thinner yarn
- Use plush yarn for a soft jumbo panda
Color Ideas
Classic Panda
White body, black ears, black eye patches, black arms, black legs, and a black upper body band.
Soft Nursery Panda
Cream body with charcoal details and blush cheeks.
Pastel Panda
White or cream body with lavender, mint, or pale grey details.
Cozy Neutral Panda
Warm ivory body with taupe or dark brown accents.
Care Instructions
Spot clean gently with a damp cloth. If the panda is made with cotton or acrylic yarn, you may hand wash it carefully in cold water.
Do not twist or wring the toy. Gently squeeze out excess water with a towel and let it air dry fully.
Avoid machine washing if the panda has safety eyes or delicate embroidery.
Frequently Asked Questions
Is this panda pattern beginner-friendly?
Yes. It is suitable for confident beginners who know basic amigurumi techniques like single crochet, increases, decreases, and working in continuous rounds.
Can I use plush yarn?
Yes. Plush yarn will make a larger, softer panda. Use a larger hook and bigger safety eyes.
Can I make this panda without safety eyes?
Yes. Embroidered eyes are the safest choice for babies and toddlers.
How do I make the panda sit properly?
Sew the legs to the lower front of the body and slightly angle them outward. Before final sewing, place the panda on a flat surface and adjust the leg position until it balances.
Why does my panda head look too round or too flat?
This usually depends on stuffing and tension. Add stuffing gradually and shape the head with your hands before closing the final rounds.
Can I sell finished pandas made from this pattern?
Yes, you can sell finished handmade pandas. Use your own product photos when listing them online or at craft markets.
Final Thoughts
This Giant Panda Cub Amigurumi Crochet Pattern is a sweet and satisfying project for anyone who loves handmade animals. The black-and-white color contrast, soft rounded body, tiny ears, and gentle face make it perfect for gifting, decorating, or selling at handmade markets.
Make one classic panda first, then try a soft cream-and-charcoal version, a pastel panda, or a plush jumbo cub for an adorable handmade collection.