If you love sweet little amigurumi that works up fast, you’re going to adore How to Crochet a Simple Turtle for Beginners 🐢 | Crochet Turtle | Free Pattern for Beginners. This tiny turtle has a round, chubby shell, a cute little head, and small flippers that make it look like it’s ready for a slow, happy adventure.
It’s perfect as a handmade gift, a nursery shelf buddy, or a desk friend—and if you’re building a themed set, it pairs so well with other small animals like a tiny crochet dinosaur.
What Is This Crochet Project?
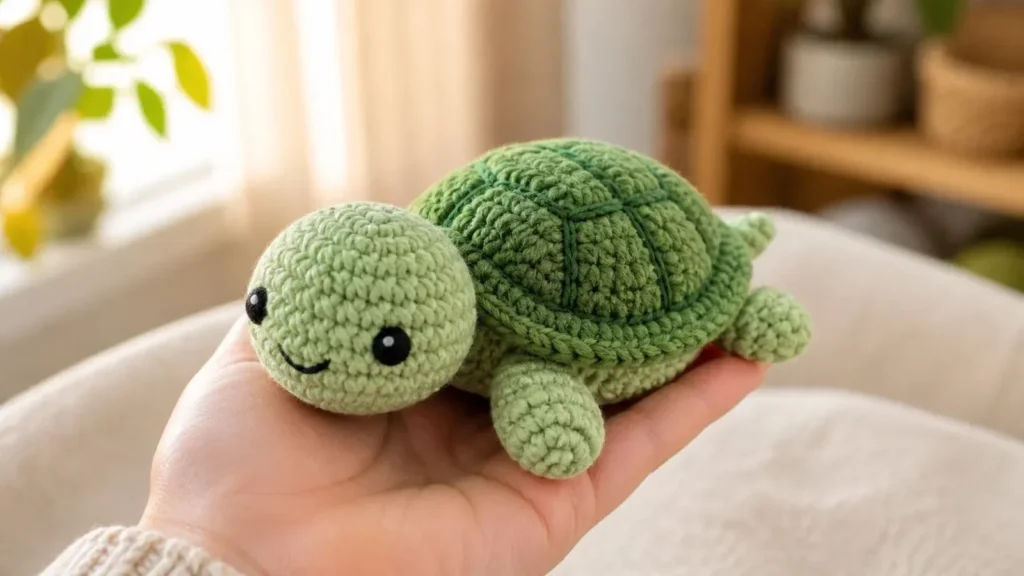
This project is a simple beginner-friendly crochet turtle amigurumi. The finished turtle is usually small enough to hold in one hand, with a smooth rounded body and a domed shell on top. The belly is made in a contrast color, and the face is kept sweet and simple with tiny eyes and a little stitched smile (or a small nose).
A finished version usually includes:
- Main body shape
- Head or face detail
- Arms and legs (little flippers)
- Main color details
- Contrast color details
- Face details
- Decorative details (shell lines or small patches)
- Soft handmade crochet texture
The overall style is classic amigurumi: soft, rounded, and friendly—made with tight stitches so the stuffing stays hidden and the shape looks neat.
Why You’ll Love This Pattern
This turtle is one of those projects that feels relaxing from start to finish. You’re mostly working in simple spiral rounds, and the pieces are small, so you get a finished cutie without a huge time commitment.
You’ll also love how easy it is to personalize. Switch the shell color, add a blush cheek, or make a whole set in different palettes. It looks adorable in handmade gift photos and makes a wonderful “just because” crochet surprise.
You’ll love this project because:
- It makes a sweet handmade gift
- It works well for nursery decor or home decor
- It uses classic amigurumi techniques
- It can be customized with different colors
- It is great for handmade collections
- It looks beautiful in blog and Pinterest photos
Skill Level
Skill level: Beginner to easy intermediate
This project is beginner-friendly, but it helps to know a few basic amigurumi skills so your turtle comes out smooth and sturdy.
You should be comfortable with:
- Magic ring
- Single crochet
- Increasing and decreasing
- Working in spiral rounds
- Stuffing pieces evenly
- Sewing small details
- Embroidering simple face details
- Weaving in yarn ends
If you’re new to amigurumi, take it slowly—this is a great “first animal” style project.
Materials You Need
To make this project, you will need:
- Yarn in the main color
- Yarn in contrast colors
- Detail yarn or embroidery thread
- Black embroidery thread or safety eyes
- Crochet hook suitable for your yarn
- Polyfill stuffing
- Yarn needle
- Stitch marker
- Scissors
- Pins for assembly
Cotton yarn gives crisp stitch definition (great for seeing your rounds clearly), while plush or acrylic yarn creates a softer, extra-cuddly turtle. Pick what matches the look you want!
Recommended Colors
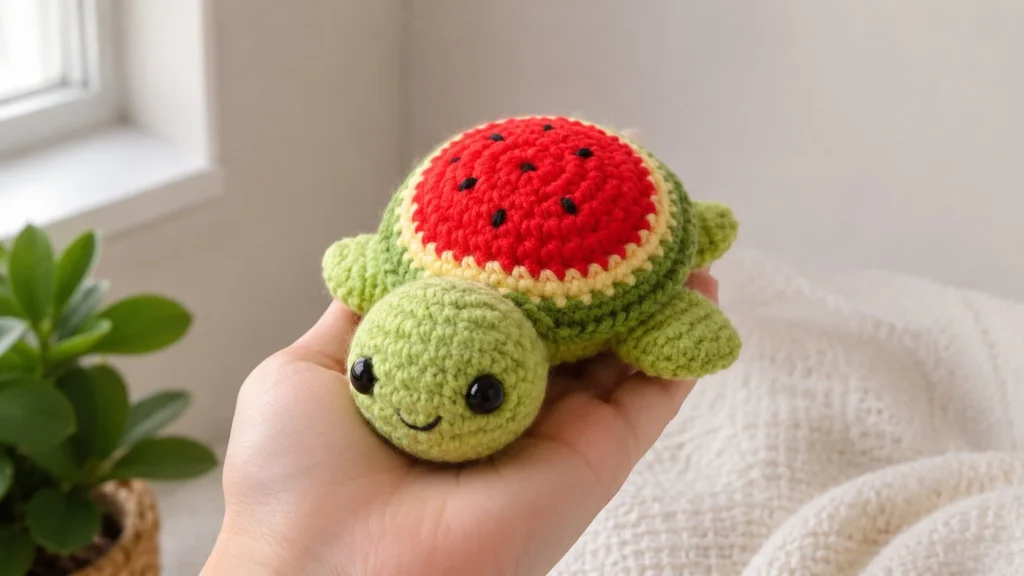
This simple turtle looks most “classic” with a green body and a lighter belly, plus a shell that’s either the same green or a deeper shade.
For a classic look, use:
- Main color for the body (green)
- Contrast color for the belly (light green, cream, or yellow)
- Accent color for shell lines or tiny details (darker green or brown)
- Black for the eyes and small face details
- Soft pink or blush, optional, for cheeks
For a softer nursery vibe, try sage + cream with a tiny blush cheek. For a modern look, go with oatmeal + mocha, or dusty blue + warm beige.
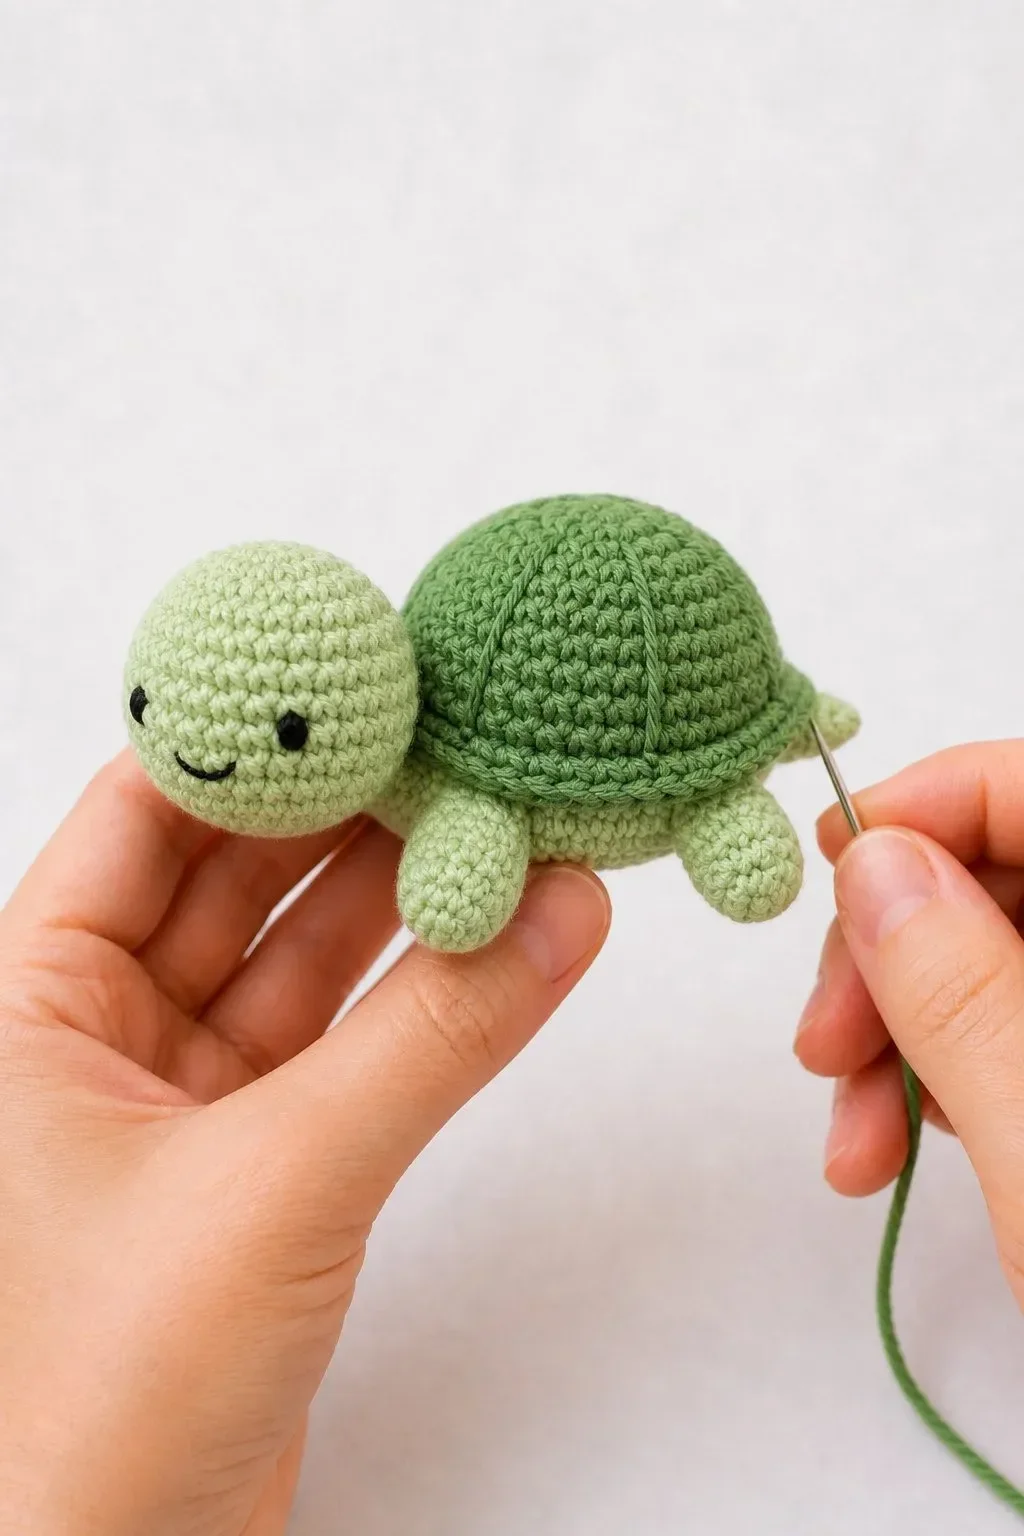
Finished Look
Your finished turtle should look round and balanced, with a smooth little body and a raised shell that sits neatly on top. The flippers should be small and symmetrical, and the face should feel friendly—simple eyes and a tiny stitched mouth are all you need.
The shell is what makes it instantly recognizable, so even a small amount of shell detail (a few stitched lines or panels) really helps it look like a turtle.
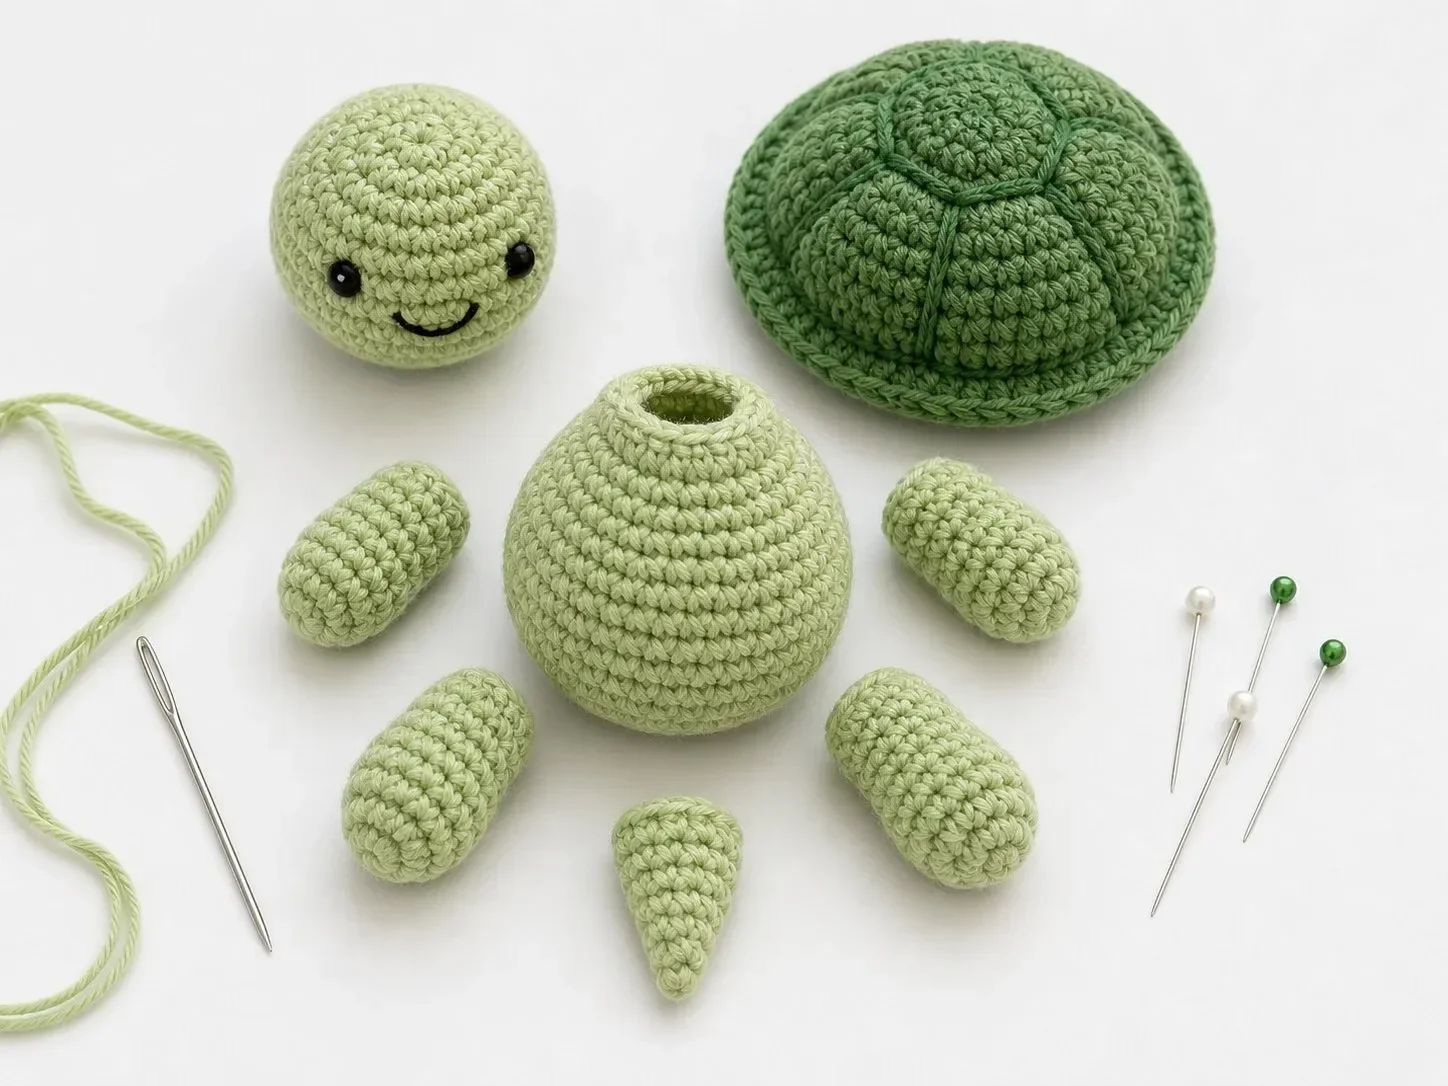
How the Project Is Made
This turtle is made from several simple amigurumi parts that are easy to handle, even if you’re new.
The main parts usually include:
- Head
- Body
- Arms and legs (flippers)
- Face details
- Decorative details (shell top and belly)
- Optional accessories
Typically, the pieces are crocheted separately, lightly stuffed, and sewn together. Smaller details—like shell lines, cheeks, and the mouth—are added near the end for the cutest finish.
Step 1: Crochet the Main Shape
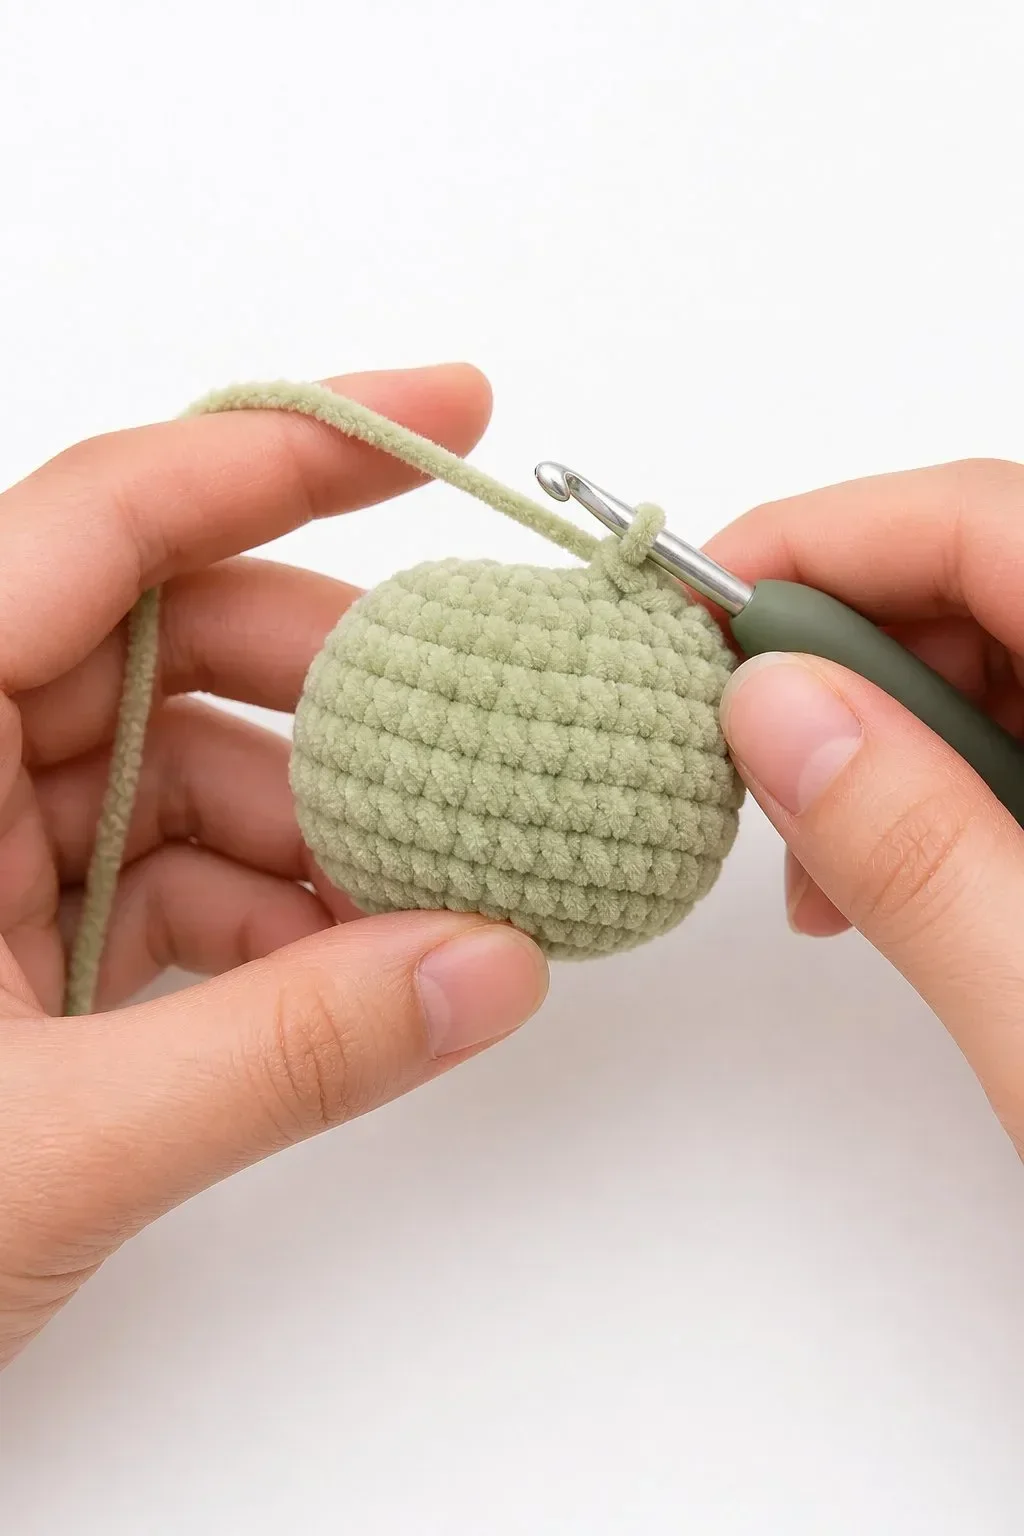
Most beginner turtles start with a rounded piece that becomes either the main body or the head (depending on the style you choose). You’ll begin with a magic ring, then use increases to grow a smooth circle.
After that, you’ll work a few even rounds to build height and create that nice “bubble” shape. When it’s time to close, you’ll use decreases to bring it back in.
Stuff as you go—don’t wait until the opening is tiny. Add small amounts of stuffing, shape it with your fingers, and keep the surface smooth.
Step 2: Add the Face Details
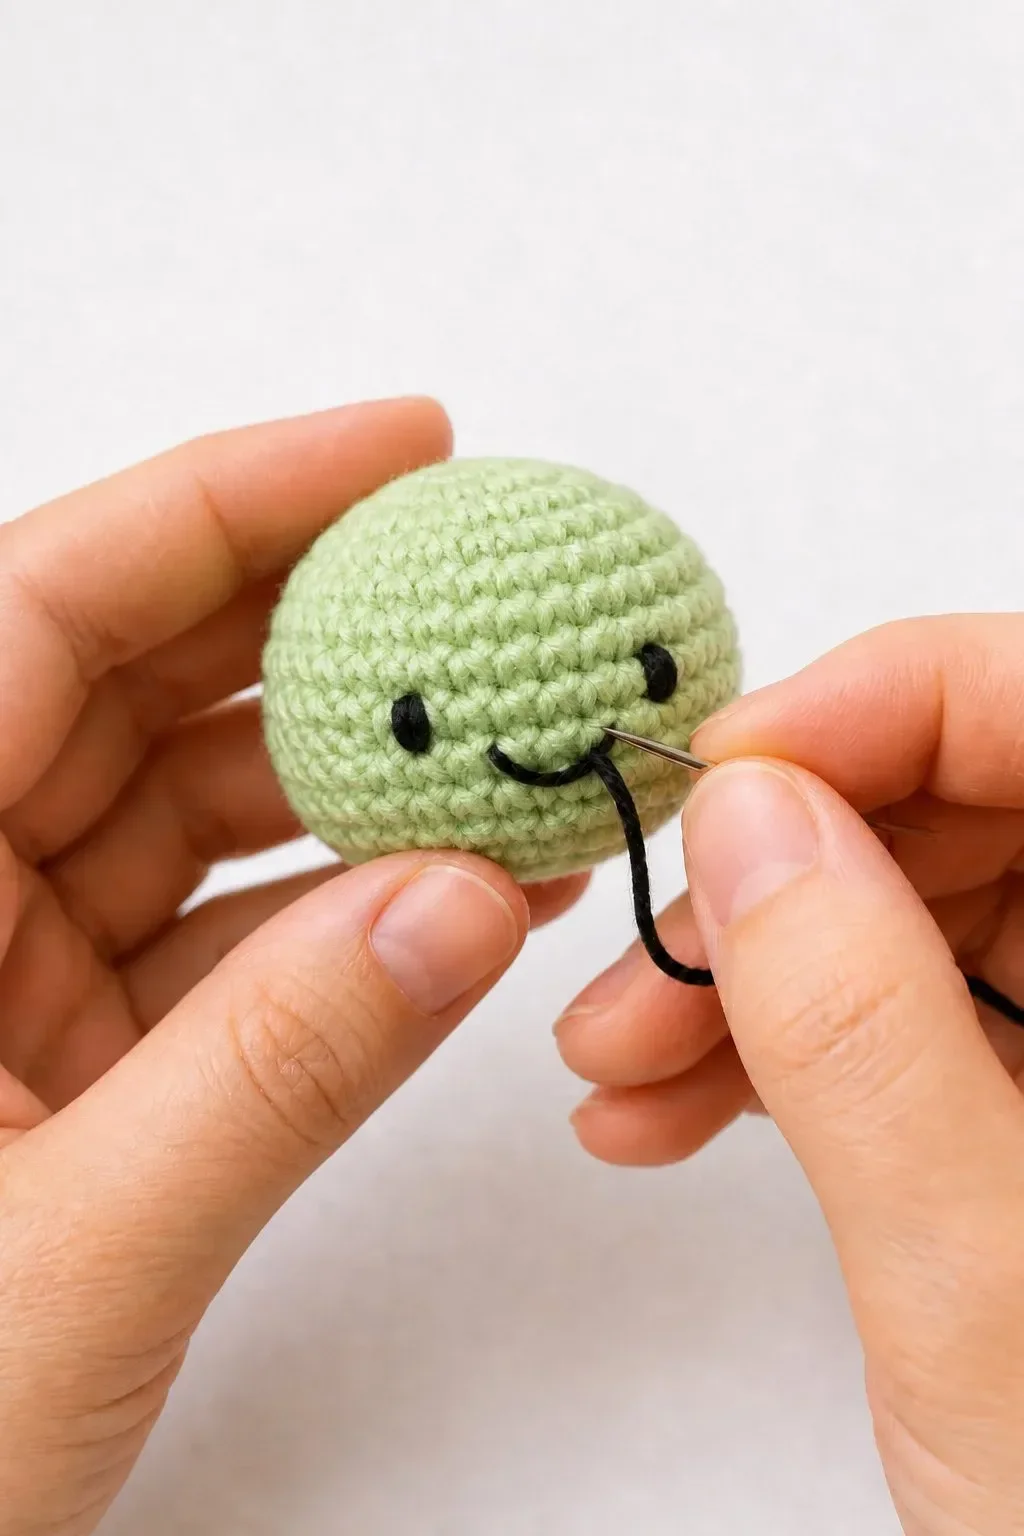
Plan the face placement before you attach anything. Even simple faces look best when the eyes are centered and evenly spaced.
You can use safety eyes for a classic amigurumi look, or embroider eyes with black thread for a softer, sleepy style.
If the project is for a baby or toddler, embroidered eyes are safer than safety eyes.
Tip: If you want an extra-cute expression, add a tiny stitched mouth and a little blush cheek in soft pink yarn.
Step 3: Crochet the Body
The turtle body is usually a rounded oval or ball-like shape that supports the shell on top. You’ll crochet in spiral rounds, increasing to widen, working even rounds to build the “middle,” then decreasing to close.
Stuff firmly but not rock-hard. When you set it down, it should look stable and nicely rounded. Before you attach the head, check that the body shape feels balanced and the “belly” area sits where you want it.
If you enjoy making small animals like this, you might also like a cozy hug koala crochet tutorial for another beginner-friendly project.
Step 4: Make the Arms, Legs, or Small Parts
For a simple turtle, the flippers are small and quick. Many designs use tiny rounded shapes or flat little paddles.
Make two front flippers and two back flippers, keeping them as similar as possible. If one comes out slightly larger, save it for the back where it’s less noticeable.
Before sewing, pin everything in place. A few minutes of pinning can save you from having to re-sew later.
Step 5: Add the Main Character Details
This turtle’s “character” comes from the shell and belly contrast.
Here are the details that make it feel like a turtle:
- A contrast belly (often an oval panel or a separate belly piece)
- A shell top that sits slightly raised above the body
- Optional shell lines stitched in an accent color (simple vertical or curved lines look great)
Keep shell details simple and clean. Even a few embroidered lines can suggest a shell pattern without making it complicated for beginners.
Step 6: Final Assembly
Before sewing everything permanently, pin the parts in place.
Check that:
- The head is centered
- The body shape looks balanced
- The face details are even
- The arms or small parts sit at the same height
- The legs, feet, fins, or tail help the project sit or display nicely
- The decorative details look balanced
- All small pieces are secure
Once everything looks right, sew each piece securely and weave in all yarn ends.
Beginner Tips
- Use stitch markers to track rounds (especially in spiral work)
- Stuff gradually so you don’t get lumps
- Pin every piece before sewing—symmetry matters
- Use a smaller hook for tighter stitches and less stuffing show-through
- Add decorative details slowly and step back to check placement
- Attach safety eyes before closing the head (if using them)
- Keep notes if making several versions (hook size, yarn brand, colors)
Ways to Customize This Crochet Project
Try:
- Changing the main body color (mint, teal, seafoam, or even purple!)
- Using pastel colors for a baby-friendly turtle
- Using neutral nursery colors like oatmeal, cream, and tan
- Adding embroidered sleepy eyes for an extra-calm look
- Adding a tiny bow or scarf
- Using plush yarn for a softer cuddly version
- Using cotton yarn for sharper stitch definition
- Making a full themed collection
This turtle also looks adorable with a tiny flower on the shell or a little “beachy” vibe in aqua and sandy beige.
Perfect Uses for This Project
This crochet project makes a lovely:
- Baby shower gift
- Nursery shelf decoration
- Handmade birthday present
- Themed party favor
- Desk buddy
- Craft market product
- Crochet collection piece
- Soft handmade toy
It’s giftable because it’s small, sweet, and easy to personalize—plus everyone recognizes a turtle right away, which makes it extra charming.
Color Collection Ideas
Classic Set
Green body, light yellow/cream belly, darker green shell accents, black eyes.
Soft Nursery Set
Sage green body, cream belly, dusty rose cheeks, soft brown shell stitching.
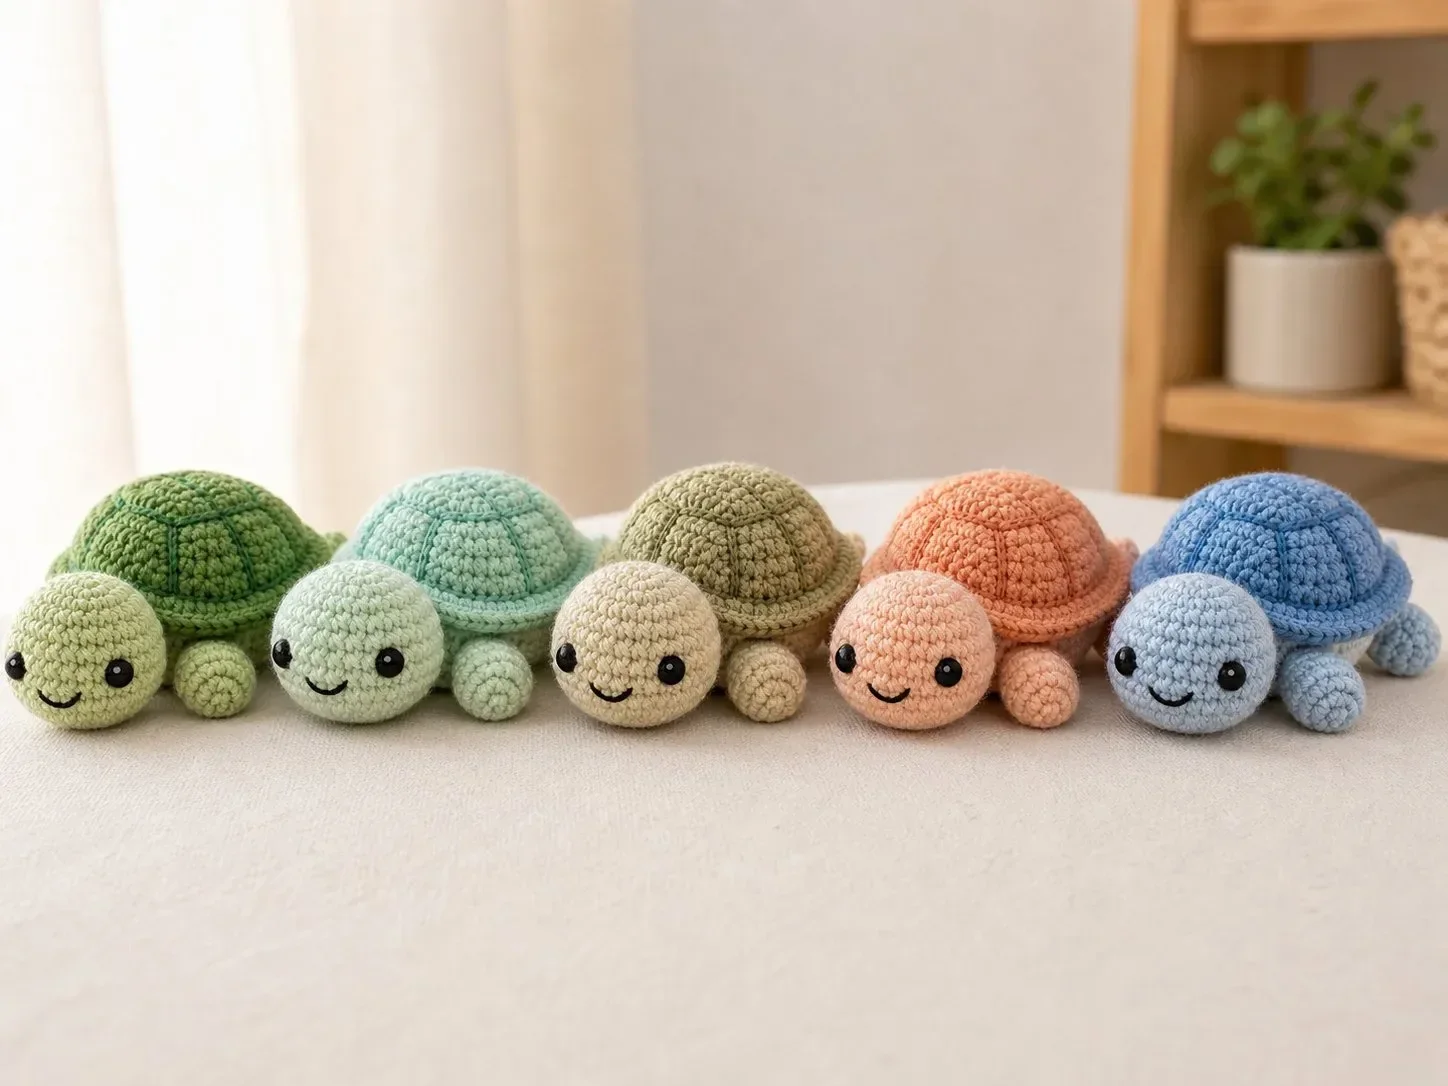
Pastel Set
Mint, baby blue, lavender, or blush shells with a light beige belly and embroidered eyes.
Modern Neutral Set
Oatmeal body, mocha shell, cream belly, minimal stitched mouth for a clean look.
Care Instructions
For best results, gently spot clean or hand wash with mild soap and cool water. Squeeze (don’t wring) to remove extra water, reshape the turtle, and let it air dry completely.
Avoid rough machine washing, especially if your turtle has safety eyes, embroidery, or sewn-on details that could snag.
If the project is for a baby or toddler, embroidered eyes are safer than safety eyes.
Conclusion
I hope this How to Crochet a Simple Turtle for Beginners | Crochet Turtle | Free Pattern for Beginners guide helps you feel confident making your own tiny shelled friend. It’s cute, creative, beginner-friendly, and such a satisfying little finish for your handmade collection—and if you’d like more turtle inspiration, you can explore a free crochet turtle pattern with a beginner-friendly video tutorial, check out the best free small amigurumi turtle crochet pattern, or try a no-sew crochet turtle plush option for an even quicker make.
If you make one, consider creating a whole little turtle family in different colors and sizes.