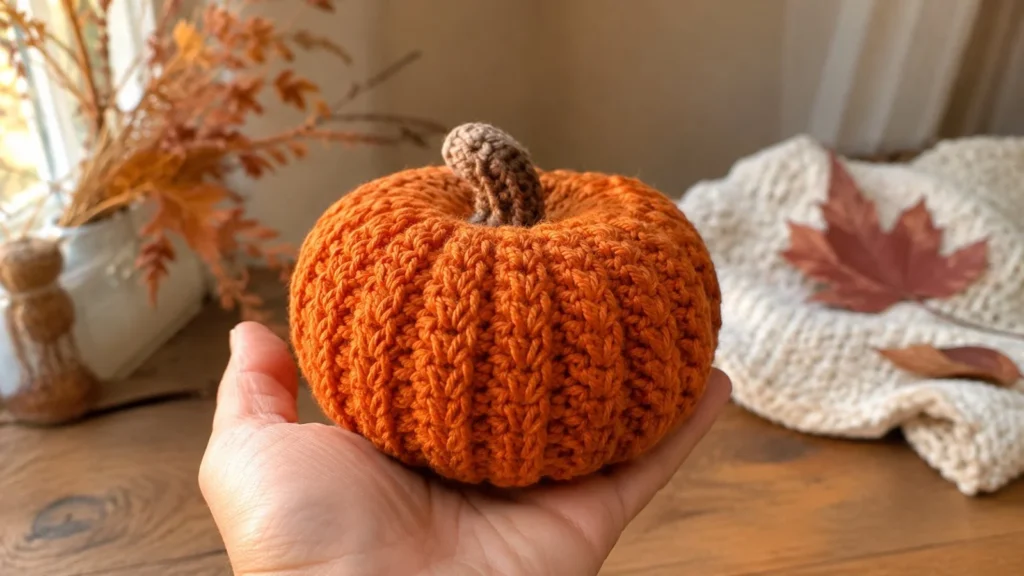
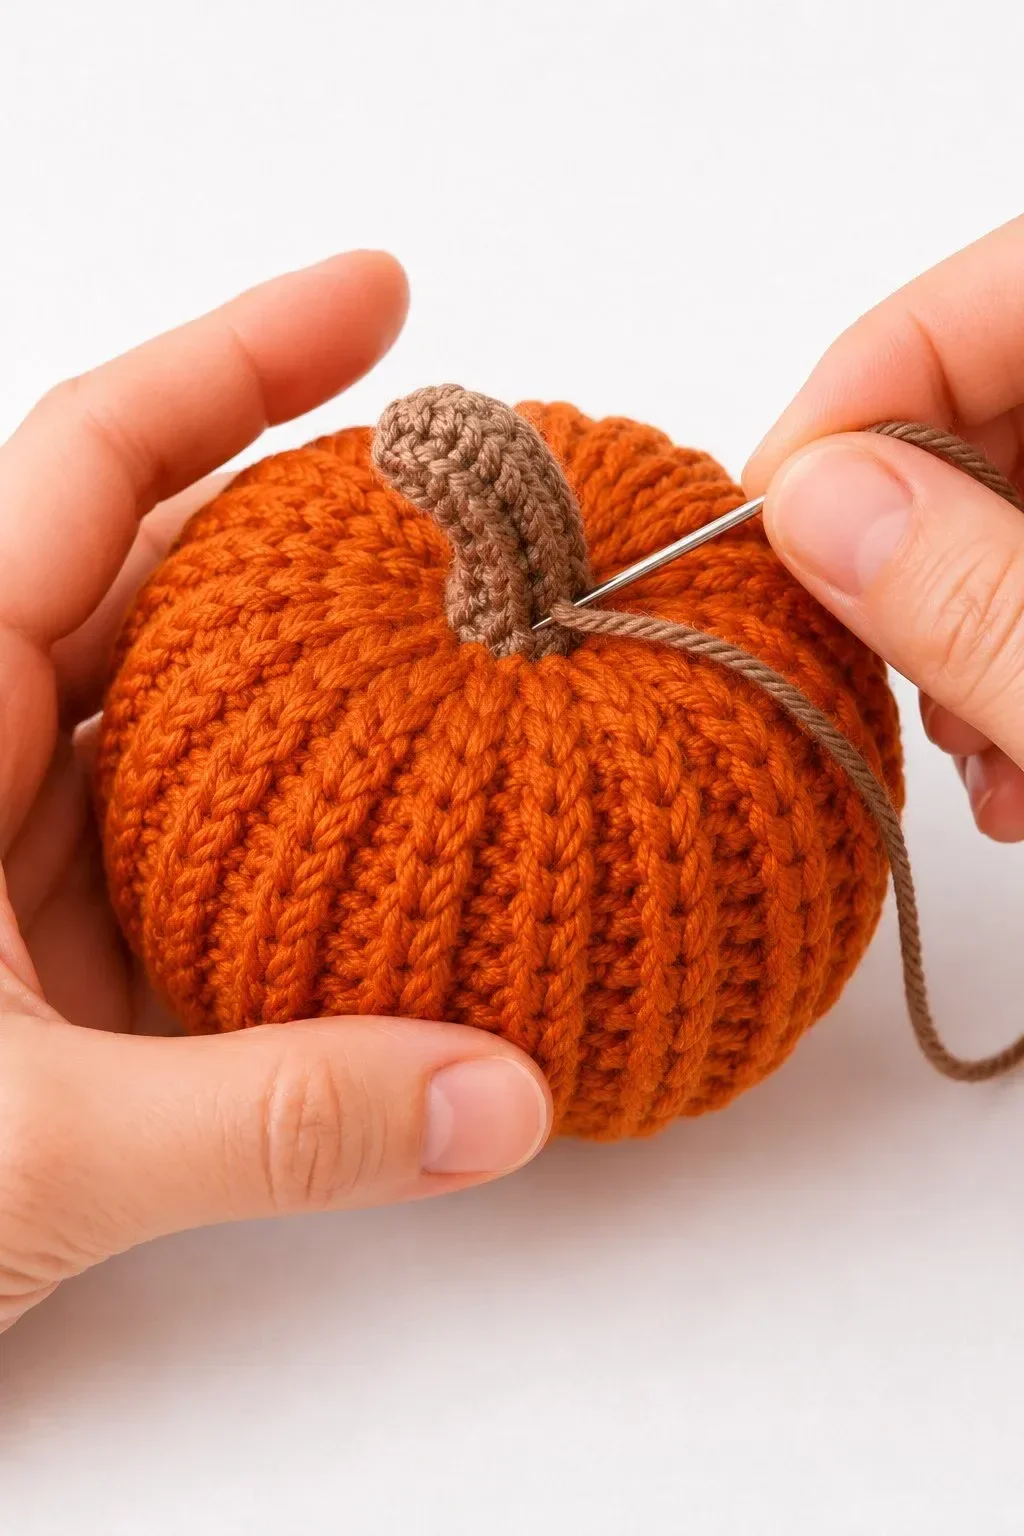
If you love cozy fall decor, these Prism Wheat Stitch Crochet Pumpkins are such a satisfying project to make. This design is a stack of three pumpkins with rich texture, topped with a sweet cinnamon-stick stem—perfect for a table centerpiece, shelf styling, or a front entry nook.
The best part is that the pumpkins are worked flat, then shaped and stacked, so you get that “wow” texture without needing to juggle lots of pieces at once. If you enjoy textured stitches and cute home makes, you’ll feel right at home (and if you usually make toys, you can still keep your amigurumi vibe—just in pumpkin form). For more cuddly inspiration, you might also enjoy browsing my crochet animals collection between seasons.
{image_template}
What Is This Crochet Project?
This project is a set of three crocheted pumpkins stacked into one tall, soft decor piece, designed by Briana K. Designs. The pumpkins are created with a beautiful textured stitch pattern (the “wheat stitch” look), then cinched and shaped into plump segments before being assembled into a tidy pumpkin tower.
A finished version usually includes:
- Main body shape
- Head or face detail
- Arms, legs, fins, wings, ears, tail, or other key parts as relevant
- Main color details
- Contrast color details
- Face details
- Decorative details
- Soft handmade crochet texture
Even though there’s no face on this one, it still has that handmade character: the deep texture, the rounded pumpkin curves, and the stem topper give it a warm, whimsical “amigurumi-for-your-home” feel.
Why You’ll Love This Pattern
This is the kind of project that looks impressive on a shelf, but feels calm and repetitive while you stitch. The textured fabric is engaging, and once you get into the rhythm, it’s very relaxing—great for an evening crochet session.
You’ll also love how giftable it is. A stacked pumpkin trio makes a thoughtful fall hostess gift, a cute craft fair item, or a seasonal touch for your own home without needing a whole box of decorations.
You’ll love this project because:
- It makes a sweet handmade gift
- It works well for nursery decor or home decor
- It uses classic amigurumi techniques
- It can be customized with different colors
- It is great for handmade collections
- It looks beautiful in blog and Pinterest photos
Skill Level
Skill level: Beginner to easy intermediate
Because this design uses textured stitches worked flat and then shaped, it’s great if you’re ready to move a step beyond basic single crochet. You don’t need advanced shaping skills—just patience and a willingness to count stitches and keep edges neat.
You should be comfortable with:
- Magic ring
- Single crochet
- Increasing and decreasing
- Working in spiral rounds
- Stuffing pieces evenly
- Sewing small details
- Embroidering simple face details
- Weaving in yarn ends
If you’re newer to crochet, don’t worry—take it one pumpkin at a time, and you’ll be surprised how quickly it comes together.
Materials You Need
To make this project, you will need:
- Yarn in the main color
- Yarn in contrast colors
- Detail yarn or embroidery thread
- Black embroidery thread or safety eyes
- Crochet hook suitable for your yarn
- Polyfill stuffing
- Yarn needle
- Stitch marker
- Scissors
- Pins for assembly
This pumpkin stack is typically made with DK-weight yarns (like Mary Maxim Prism and Mellowspun DK) and an H-8 (5 mm) hook. Cotton yarn gives clean stitch definition, while plush or acrylic yarn creates a softer cuddly finish.
Recommended Colors
This design really shines with Prism-style color changes and cozy coordinating solids. The textured stitch makes even simple colors look rich, and the gentle striping effect gives each pumpkin its own personality while still looking like one set.
For a classic look, use:
- Main color for the body
- Contrast color for the belly, muzzle, feet, fins, ears, wings, or other details
- Accent color for spots, stripes, spikes, accessories, or small design details
- Black for the eyes and small face details
- Soft pink or blush, optional, for cheeks
For softer nursery-style or modern alternatives, try pale sage, wheat, cream, and muted terracotta—or go modern with taupe, oatmeal, and a deep charcoal stem accent.
Finished Look
Your finished pumpkin trio should look tall, softly rounded, and nicely segmented, with three stacked “squishy” pumpkin sections. The texture should be the star: a raised, woven look that catches the light and makes the pumpkins feel extra cozy.
The most recognizable details are the wheat-stitch texture, the cinched pumpkin ridges, and the cinnamon-stick stem at the top. Finished size is about 6.5″ x 10″, making it a perfect shelf-friendly decor piece.
How the Project Is Made
This project is made from several simple amigurumi-style parts—except it’s decor, not a toy. The fabric is crocheted flat into panels, then shaped into pumpkin forms with seaming, cinching, and stuffing.
The main parts usually include:
- Head
- Body
- Arms, legs, fins, wings, tail, ears, or other shape details
- Face details
- Decorative details
- Optional accessories
Here, your “main pieces” are the three pumpkin sections. Each one is crocheted, lightly stuffed, cinched to create the classic pumpkin shape, and then stacked and secured together, with the stem added last.
Step 1: Crochet the Main Shape

You’ll begin by crocheting a flat piece in rows using the textured stitch pattern. The goal is a sturdy rectangle with a nice, even edge—clean edges make seaming much easier later.
As you work, pause occasionally to check that your tension feels consistent. With textured stitches, tight tension can make shaping stiff, and loose tension can make the pumpkin look floppy. Aim for a fabric that feels flexible but not holey.
Step 2: Add the Face Details
These pumpkins don’t need faces (which is part of their charm), but you can plan any extras here—like a tiny tag, a small embroidered “harvest” detail, or a little bow tied around the stack.
If the project is for a baby or toddler, embroidered eyes are safer than safety eyes.
Step 3: Crochet the Body
For each pumpkin section, you’ll seam the short edges of the rectangle together to form a tube. Then you’ll cinch one end closed, turn it right-side out, and begin stuffing.
Stuff gradually, pushing the filling out toward the sides so the pumpkin looks plump and smooth. Once it’s filled to your liking, cinch the top closed as well. If you like the deep pumpkin “segments,” you can use a long yarn tail to sculpt gentle indents.
Step 4: Make the Arms, Legs, or Small Parts
Instead of arms and legs, this design’s “small parts” are the details that complete the stacked look: securing points between pumpkins, optional leaf accents, and the stem topper.
A helpful tip (especially if you’re used to sewing small amigurumi parts like in my tiny dinosaur crochet pattern) is to pin everything first. Even with pumpkins, pinning keeps your stack straight and prevents a leaning tower.
Step 5: Add the Main Character Details
This is where the Briana K. Designs style really shows: the textured wheat-stitch fabric and the stacked trio silhouette. After shaping each pumpkin, stack them in order (usually largest on the bottom, smallest on top) and check the proportions from all sides.
For the stem, a cinnamon stick is the classic finishing touch. It adds height, texture, and that cozy autumn vibe. (It’s not included with the kit, so plan to grab one.) If you prefer a fully soft finish, you can crochet a stem instead or use a small rolled felt stem.
Step 6: Final Assembly
Before sewing everything permanently, pin the parts in place.
Check that:
- The head is centered
- The body shape looks balanced
- The face details are even
- The arms or small parts sit at the same height
- The legs, feet, fins, or tail help the project sit or display nicely
- The decorative details look balanced
- All small pieces are secure
Once everything looks right, sew each piece securely and weave in all yarn ends. Take your time here—clean assembly is what makes the stacked pumpkins look polished and display-ready.

Beginner Tips
- Use stitch markers to track rounds (or to mark the same point on each pumpkin when stacking).
- Stuff gradually so you don’t get lumps.
- Pin every piece before sewing, especially when aligning the stack.
- Use a smaller hook for tighter stitches if your fabric feels too loose.
- Add decorative details slowly—step back and check placement as you go.
- Attach safety eyes before closing the head (not needed here unless you add a face).
- Keep notes if making several versions so your set looks cohesive.
Ways to Customize This Crochet Project
Try:
- Changing the main body color (classic pumpkin orange, cream, or deep forest green)
- Using pastel colors for a softer seasonal look
- Using neutral nursery colors for year-round shelf decor
- Adding embroidered sleepy eyes on the top pumpkin for a “pumpkin plush” vibe
- Adding a tiny bow or scarf around the stack
- Using plush yarn for a softer cuddly version (size will change)
- Using cotton yarn for sharper stitch definition
- Making a full themed collection (pumpkins + leaves + tiny acorns)
If you enjoy building themed sets, you can pair these with other cute makes like my Eucalyptus Hug Koala for cozy shelf styling.
Perfect Uses for This Project
This crochet project makes a lovely:
- Baby shower gift
- Nursery shelf decoration
- Handmade birthday present
- Themed party favor
- Desk buddy
- Craft market product
- Crochet collection piece
- Soft handmade toy
Because it’s decorative, portable, and not too large, it’s an easy gift to wrap and mail—plus it’s something people can display every autumn without it feeling cluttery.
Color Collection Ideas
Classic Set
Warm pumpkin tones: burnt orange, golden amber, and creamy beige, topped with a cinnamon-stick stem.
Soft Nursery Set
Blush, soft cream, and pale sage for a gentle “storybook fall” look.
Pastel Set
Lavender, mint, and pale peach—unexpected, dreamy, and super cute on bright shelves.
Modern Neutral Set
Oatmeal, taupe, and charcoal with a warm brown stem for a clean, modern farmhouse vibe.
Care Instructions
For best results, gently spot clean or hand wash with cool water and a mild soap. Squeeze (don’t wring) to remove extra water, reshape the pumpkins, and let them air dry completely.
Avoid rough machine washing, especially if your pumpkins have embroidery, sewn-on details, or a cinnamon stick stem. If the project is for a baby or toddler, embroidered details are safer than safety eyes, and any hard pieces (like cinnamon sticks) should be avoided.
Conclusion
I hope you enjoyed this cozy little walkthrough of Prism Wheat Stitch Crochet Pumpkins—they’re textured, creative, and such a satisfying way to decorate for fall with your own handmade touch. If you want to explore yarn options, take a peek at Mary Maxim Prism yarn, and if you’re ready to make the exact trio, you can find the designer’s details in the Wheat Stitch™ Crochet Pumpkin Trio pattern. You can also browse more collaborations in the Briana K Designs collection for additional textured crochet inspiration.
If you make a set, try stopping at one… or go all in and create a full themed pumpkin collection in your favorite colors for the season.