Easy Sea Turtle Crochet Patterns are one of my favorite “feel-good” amigurumi projects—small, cozy, and irresistibly cute. These little turtles have rounded shells, tiny flippers, and a friendly face that looks right at home on a desk, a nursery shelf, or tucked into a gift bag as a pocket buddy.
They’re also wonderfully giftable, which is dangerous… because once you make one, you’ll want a whole tiny turtle family. If you’re brand new to turtles, this extra beginner walkthrough is a sweet place to start: how to crochet a simple turtle for beginners.
What Is This Crochet Project?
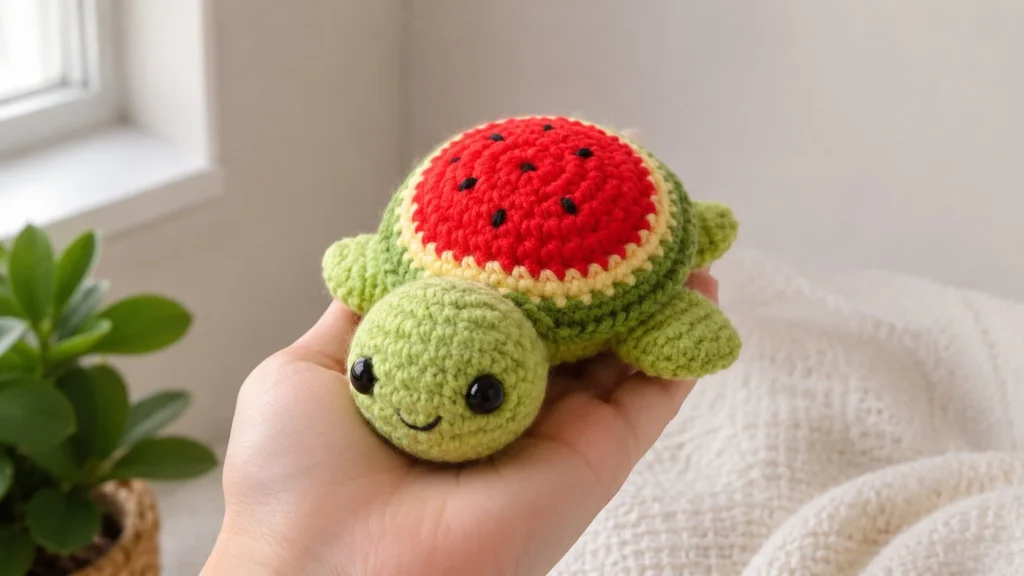
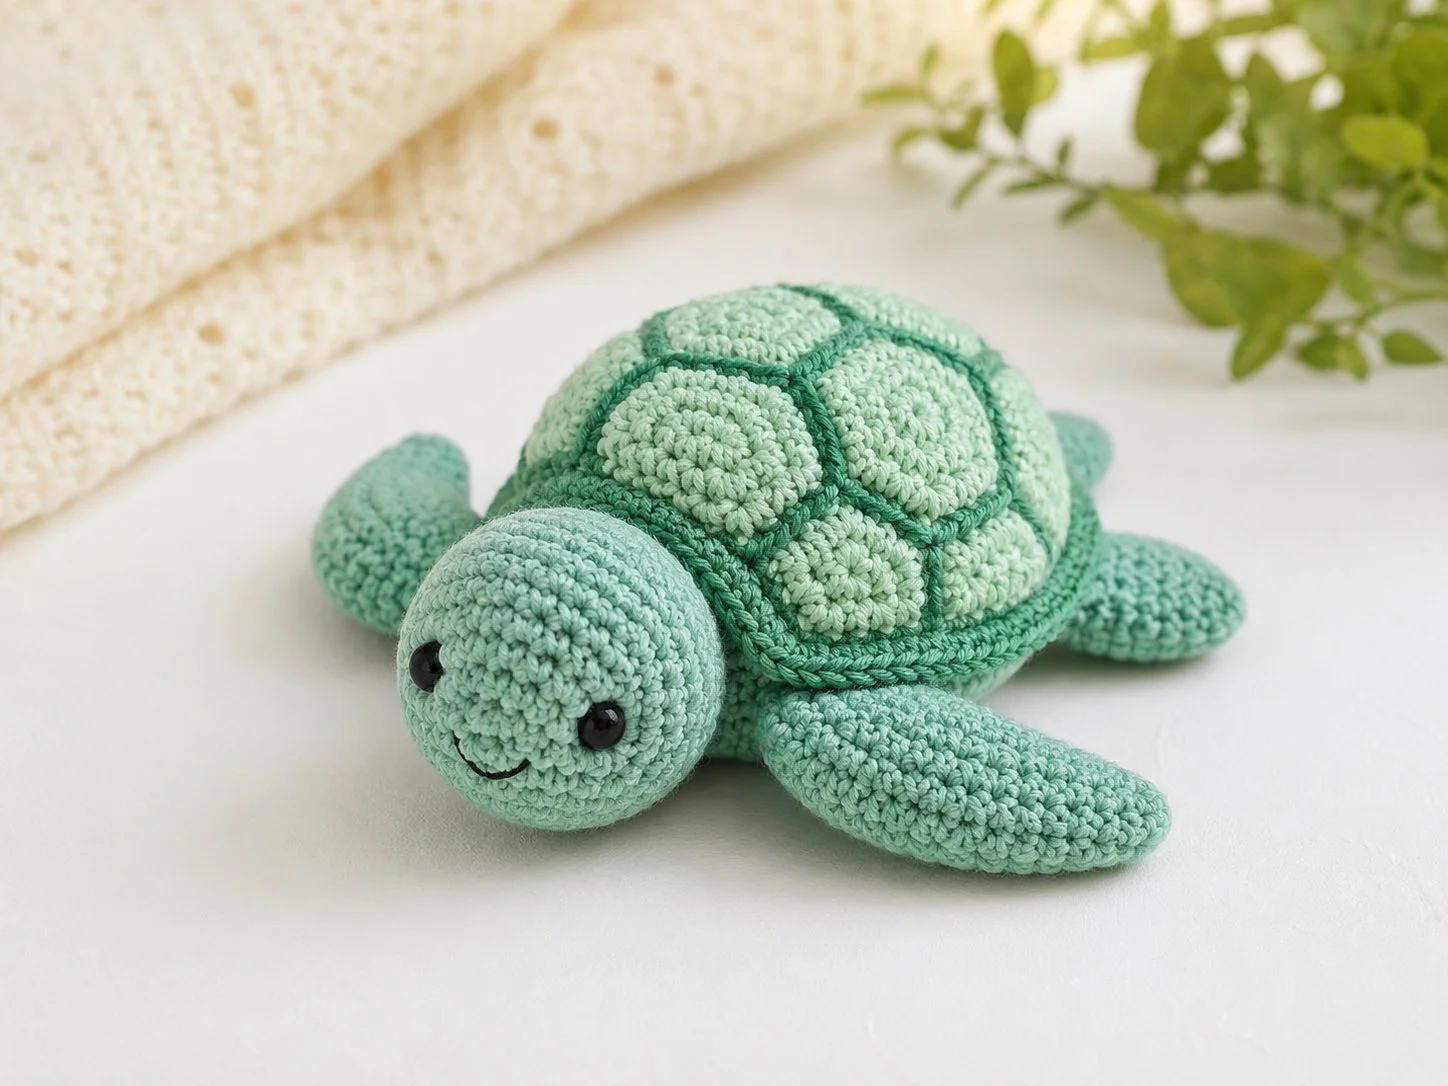
This crochet project is a cute sea turtle amigurumi made from simple, beginner-friendly shapes: a round head, a plump body, a lightly domed shell, and four little fins. The belly is usually a contrast color, and the shell can be smooth or have simple stitched lines to hint at classic turtle “plates.”
A finished version usually includes:
- Main body shape
- Head or face detail
- Arms, legs, fins, wings, ears, tail, or other key parts as relevant
- Main color details
- Contrast color details
- Face details
- Decorative details
- Soft handmade crochet texture
The final handmade style is soft and huggable with a clean, simple look—perfect for using up favorite yarn colors while practicing classic amigurumi shaping.
Why You’ll Love This Pattern
Sea turtles are such a cheerful theme, and they look adorable in almost any color palette. They’re quick enough to finish in a weekend, but still have enough detail to feel like a real little character when you’re done.
And if you love collecting cute creatures, a turtle fits right in with other projects from your crochet animals list—sweet, displayable, and always crowd-pleasing.
You’ll love this project because:
- It makes a sweet handmade gift
- It works well for nursery decor or home decor
- It uses classic amigurumi techniques
- It can be customized with different colors
- It is great for handmade collections
- It looks beautiful in blog and Pinterest photos
Skill Level
Skill level: Beginner to easy intermediate
This is a friendly project if you already know the basics of amigurumi. You’ll be working mostly in simple stitches, shaping with increases and decreases, then sewing everything together neatly.
You should be comfortable with:
- Magic ring
- Single crochet
- Increasing and decreasing
- Working in spiral rounds
- Stuffing pieces evenly
- Sewing small details
- Embroidering simple face details
- Weaving in yarn ends
If you’re newer to amigurumi, go slowly—this is a great project to build confidence.
Materials You Need
To make this project, you will need:
- Yarn in the main color
- Yarn in contrast colors
- Detail yarn or embroidery thread
- Black embroidery thread or safety eyes
- Crochet hook suitable for your yarn
- Polyfill stuffing
- Yarn needle
- Stitch marker
- Scissors
- Pins for assembly
Cotton yarn gives clean stitch definition (especially pretty for shell texture), while plush or acrylic yarn makes your turtle extra soft and cuddly—perfect if you want a squishier finish.
Recommended Colors
For a classic sea turtle look, think ocean-inspired greens and sandy neutrals.
For a classic look, use:
- Main color for the body (sea green or teal)
- Contrast color for the belly and underside (cream, beige, or pale yellow)
- Accent color for shell lines or tiny details (darker green, brown, or muted olive)
- Black for the eyes and small face details
- Soft pink or blush, optional, for cheeks
For a softer nursery feel, try sage + oatmeal + blush. For a modern look, eucalyptus green + warm white + a tiny touch of terracotta is gorgeous. And if you want “pastel ocean” energy, mint + baby blue with a buttery belly looks especially sweet.
Finished Look
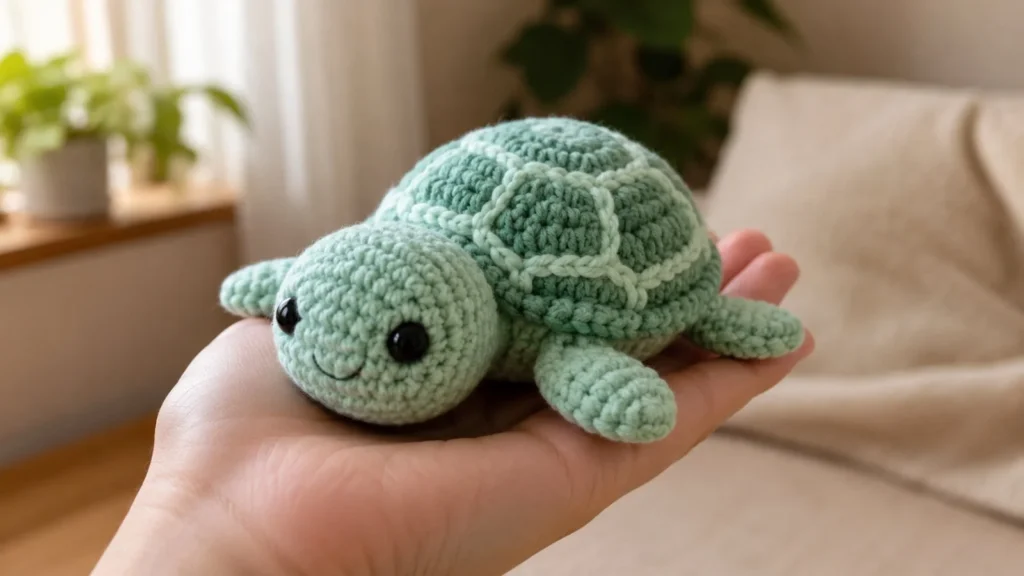
Your finished turtle should look soft, rounded, friendly, and nicely balanced. The shell will sit gently domed on the back, with fins placed evenly so the turtle looks symmetrical from the front and from above.
The most recognizable details are the contrast belly, the shell section on the back (smooth or lightly stitched), and the cute face—either bright and wide-eyed or sleepy and calm.
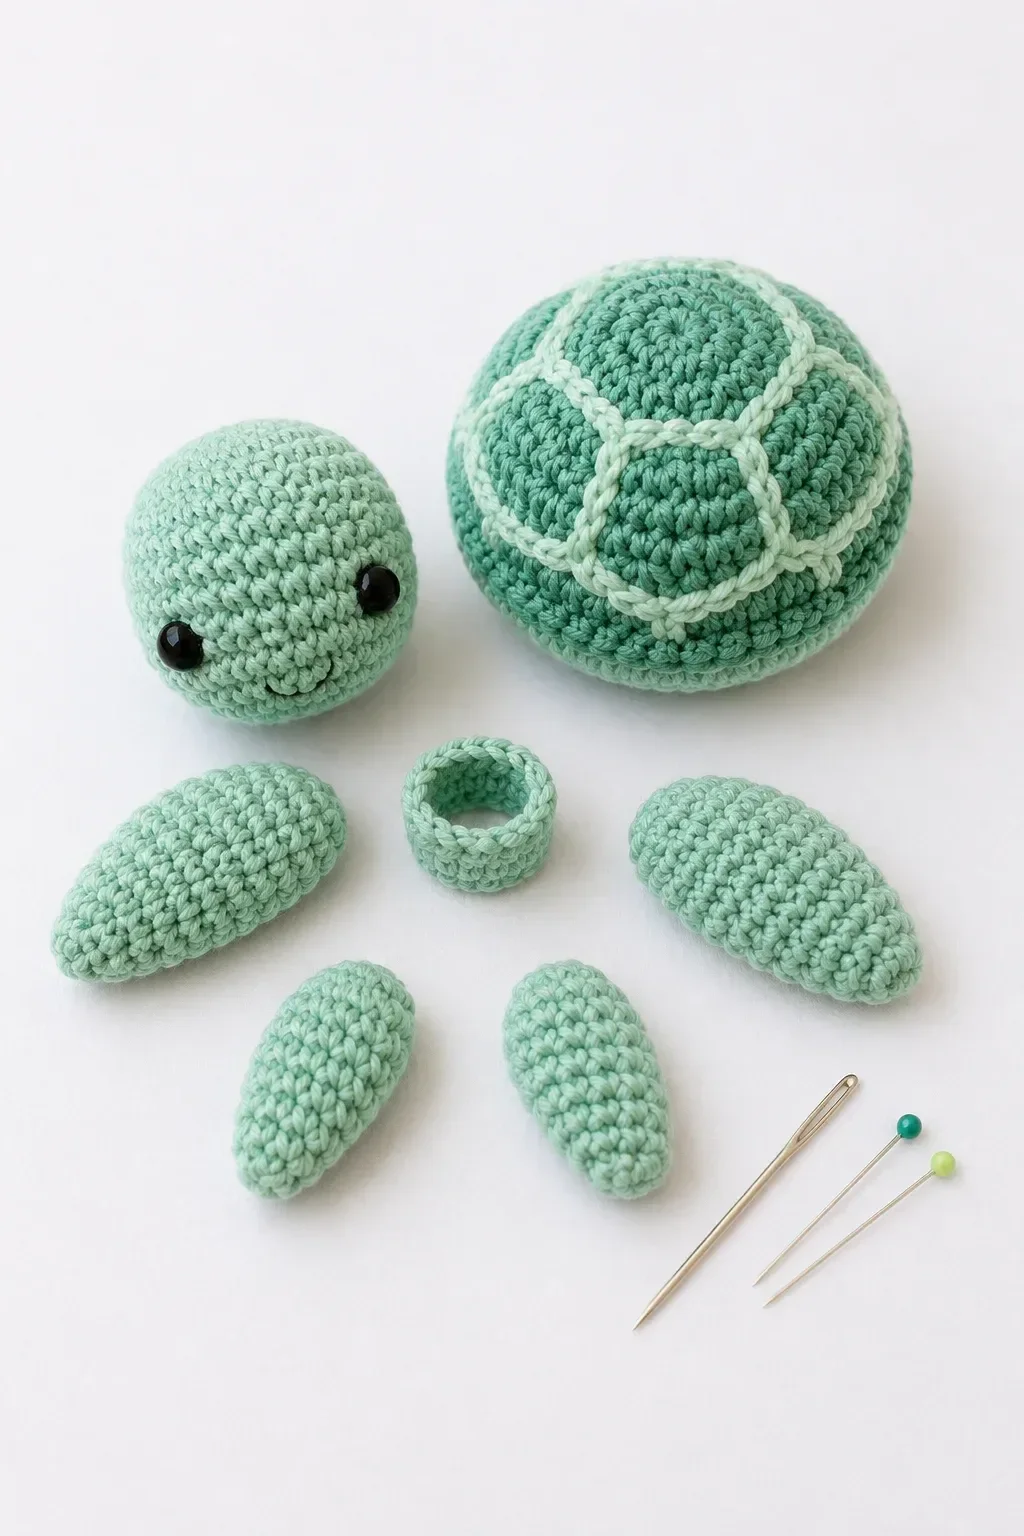
How the Project Is Made
This turtle is made from several simple amigurumi parts, which makes it feel very manageable—especially if you like completing one piece at a time. If you enjoy projects like this, you’ll find lots of similar cuties in my amigurumi patterns collection.
The main parts usually include:
- Head
- Body
- Arms, legs, fins, wings, tail, ears, or other shape details
- Face details
- Decorative details
- Optional accessories
Most pieces are crocheted separately, lightly stuffed, and sewn together. The smaller “personality” details—like cheeks, shell lines, and a tiny smile—are added near the end.
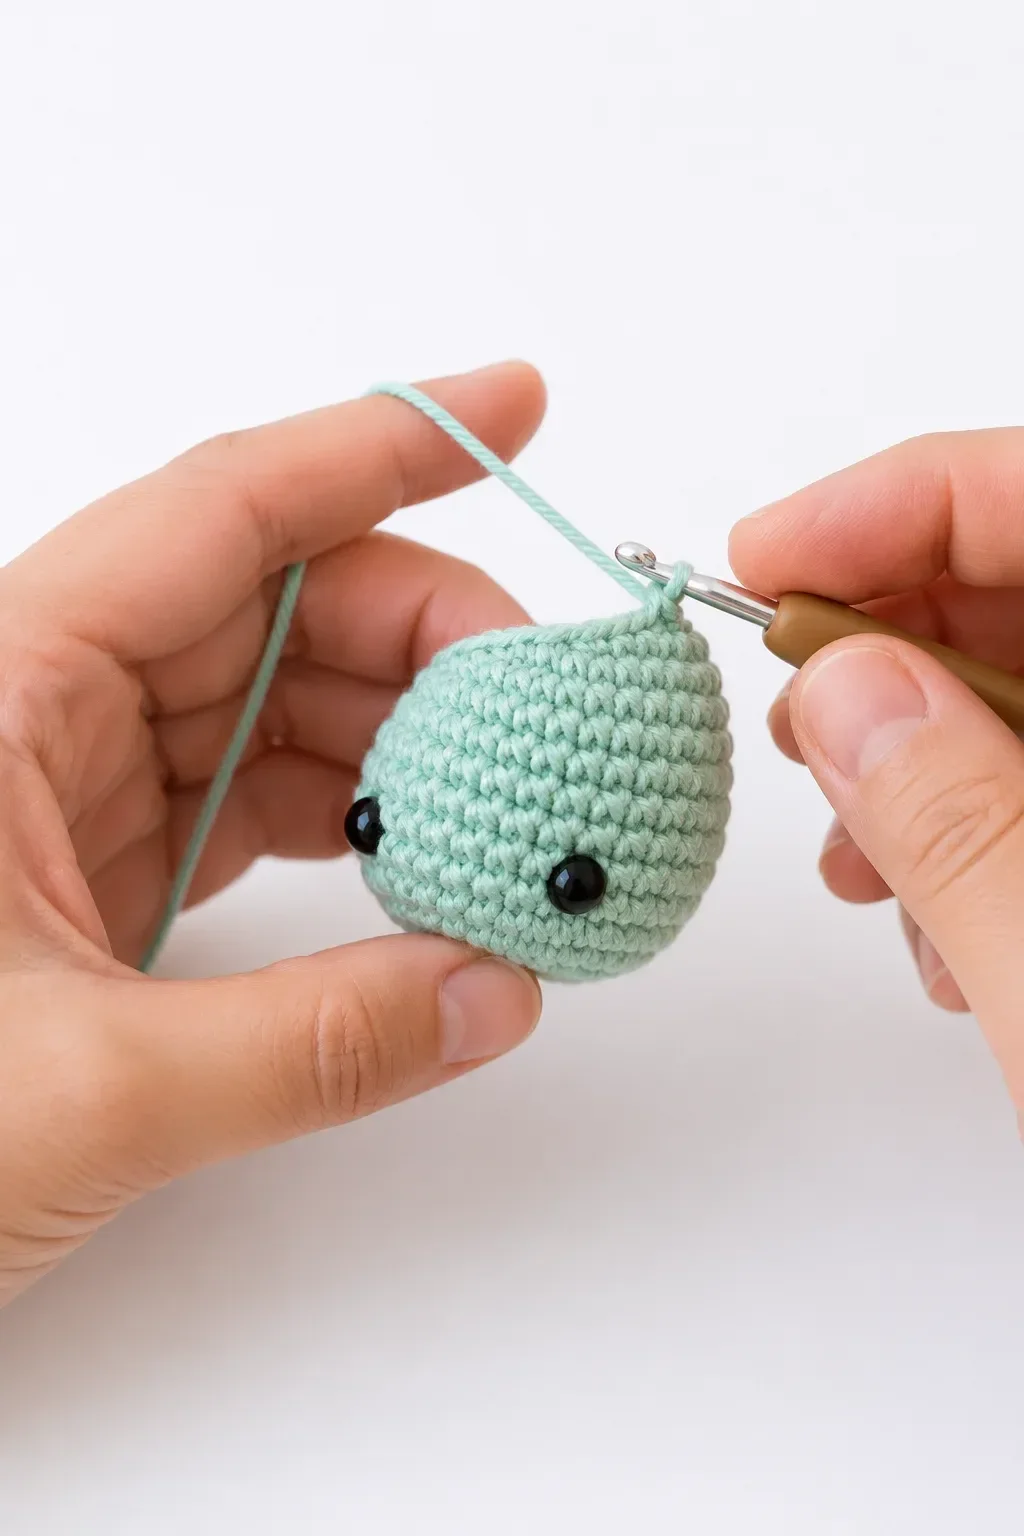
Step 1: Crochet the Main Shape
Start with the main rounded pieces (usually the head and body) using spiral rounds. You’ll begin with a magic ring, then increase to create a smooth curve. After a few even rounds to hold the shape, you’ll decrease to close.
Stuff gradually as you go. Small pinches of stuffing added little by little help prevent lumps and keep the curves smooth—especially on the head, where you want that neat, rounded look.
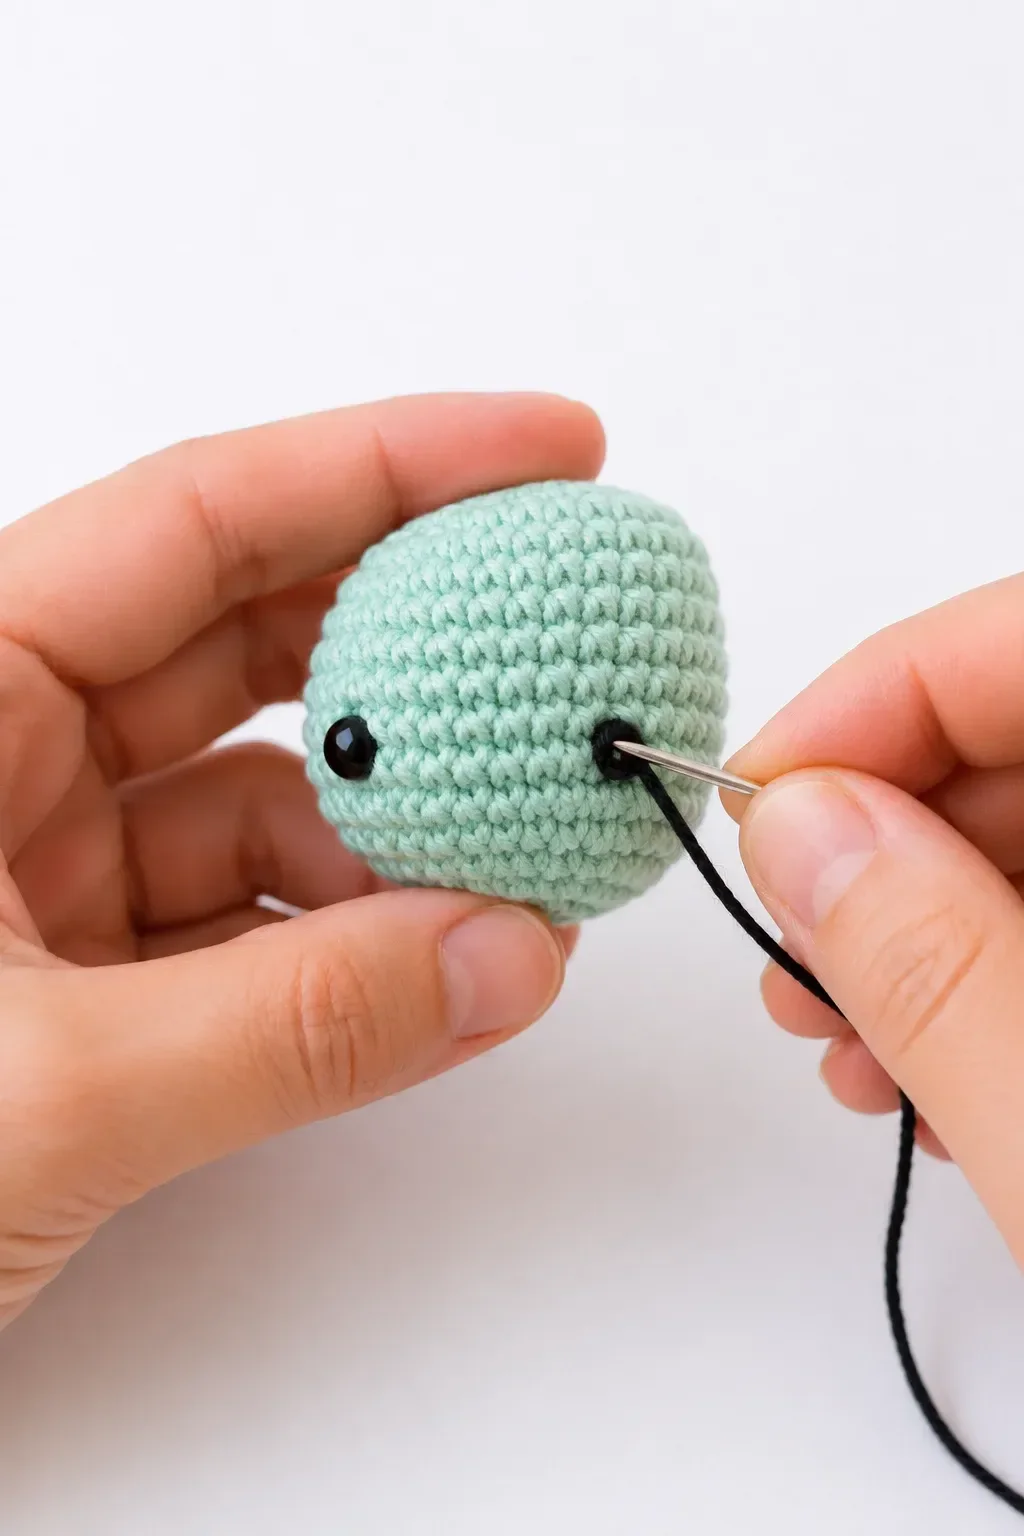
Step 2: Add the Face Details
Before you sew anything together, plan the face placement. Even a tiny shift in eye position can change the whole vibe—curious, sleepy, extra babyish, or adorably chubby.
- If you’re using safety eyes, place them while the head opening is still easy to access.
- If you’re embroidering, use black thread (or thin black yarn) and keep stitches small and tidy.
- Optional blush cheeks add instant charm, even if it’s just a few soft pink stitches.
If the project is for a baby or toddler, embroidered eyes are safer than safety eyes.
Step 3: Crochet the Body
The body is usually a wider, slightly flatter shape than the head so your turtle can sit nicely. The shaping rhythm is the same: increase for width, work even rounds for structure, and decrease to close.
As you stuff the body, pause and set it on a table. If it tips, adjust the stuffing so the underside is flatter and the top stays rounded—this small check makes a big difference in the finished look.
Step 4: Make the Arms, Legs, or Small Parts
For a sea turtle, the “limbs” are fins. They’re typically quick to crochet and may be lightly stuffed or left unstuffed depending on the style you want (floppy fins vs. slightly plumper fins).
Make all four fins as evenly as possible, then pin them in place before sewing. Pinning first helps you check symmetry from every angle and prevents that classic amigurumi “one fin is higher than the other” moment.
Step 5: Add the Main Character Details
This is the part where it stops being “a round plush” and becomes a recognizable sea turtle.
- Add the shell section on the back in a slightly darker or contrasting shade.
- Keep the shell smooth for a minimalist look, or stitch simple lines to suggest shell panels.
- Add the contrast belly (either as a separate piece or by changing colors on the underside).
- Finish with tiny embroidered details: a little smile, gentle cheek blush, or a few extra shell stitches for texture.
If you’re making this for a little one, you might also like browsing baby and kids crochet ideas for more gift-friendly projects in the same sweet style.
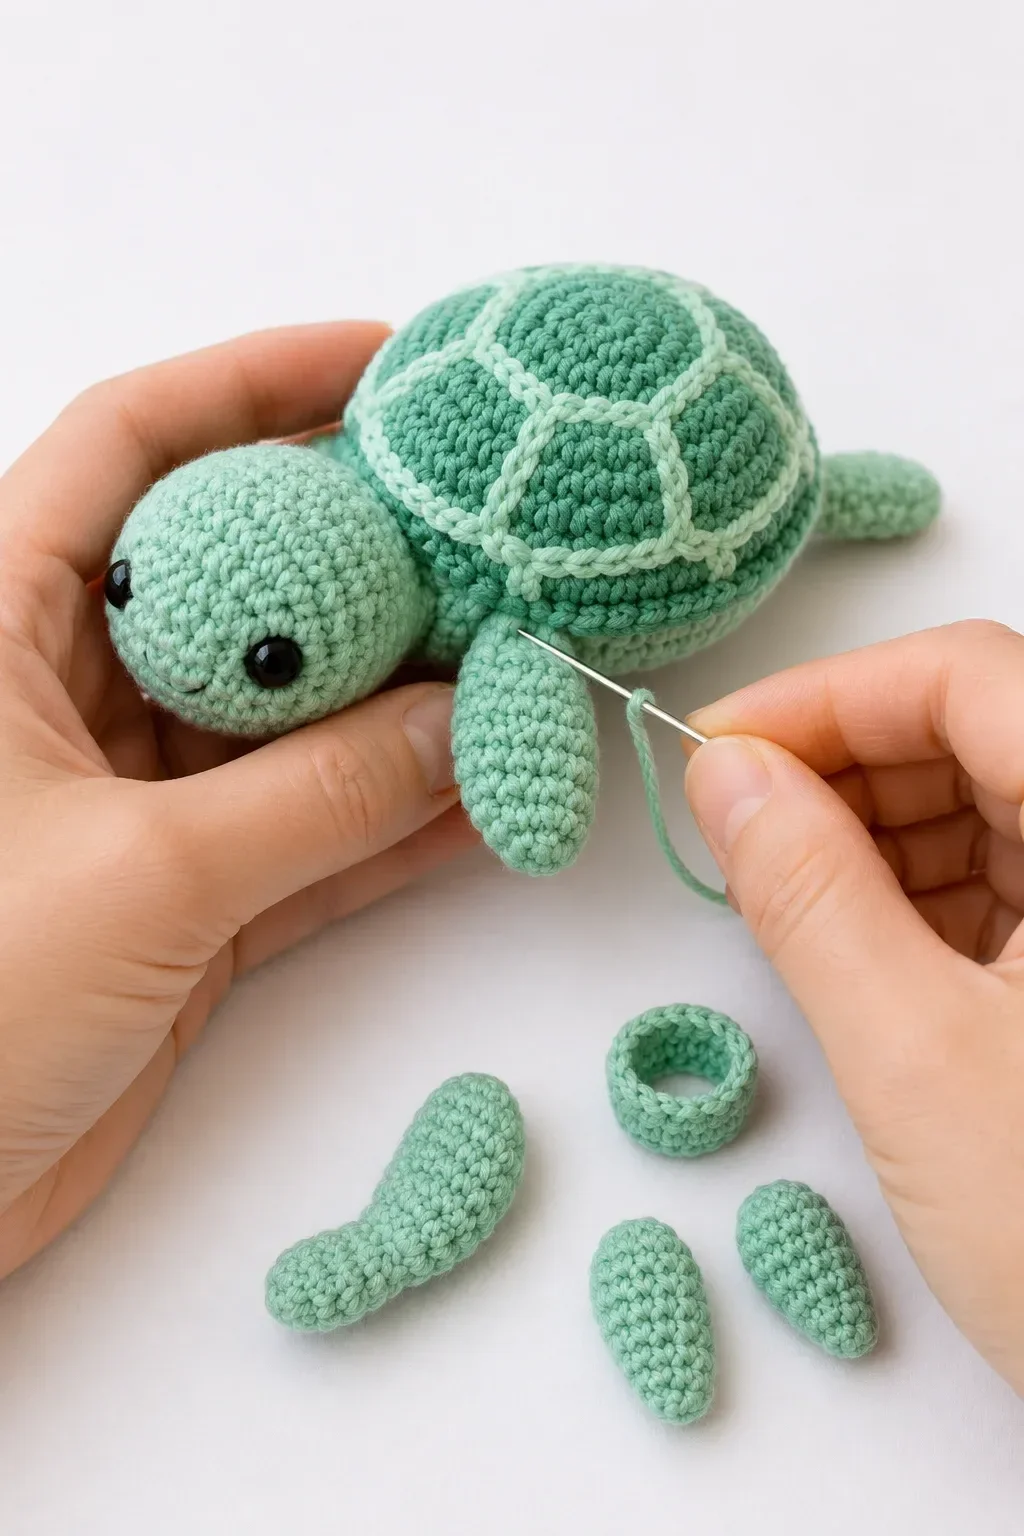
Step 6: Final Assembly
Before sewing everything permanently, pin the parts in place.
Check that:
- The head is centered
- The body shape looks balanced
- The face details are even
- The arms or small parts sit at the same height
- The legs, feet, fins, or tail help the project sit or display nicely
- The decorative details look balanced
- All small pieces are secure
Once everything looks right, sew each piece securely and weave in all yarn ends.
Beginner Tips
- Use stitch markers to track rounds (spirals are sneaky).
- Stuff gradually so you can shape as you go.
- Pin every piece before sewing to avoid “oops” placements.
- Use a smaller hook for tighter stitches and less stuffing showing through.
- Add decorative details slowly—tiny stitches make a big difference.
- Attach safety eyes before closing the head.
- Keep notes if making several versions (especially for colors and face placement).
If you want more low-stress practice projects like this, browse beginner crochet patterns when you’re in the mood for something simple and satisfying.
Ways to Customize This Crochet Project
These turtles are so fun to personalize, and small changes make each one feel totally unique.
Try:
- Changing the main body color (teal, olive, mint, or even bright rainbow)
- Using pastel colors for a cute nursery vibe
- Using neutral nursery colors for a modern look
- Adding embroidered sleepy eyes for extra calm “sea turtle energy”
- Adding a tiny bow or scarf (so cute for gifts)
- Using plush yarn for a softer cuddly version
- Using cotton yarn for sharper stitch definition
- Making a full themed collection
Perfect Uses for This Project
This crochet project makes a lovely:
- Baby shower gift
- Nursery shelf decoration
- Handmade birthday present
- Themed party favor
- Desk buddy
- Craft market product
- Crochet collection piece
- Soft handmade toy
Because sea turtles are universally loved, this design feels special without being complicated. It’s easy to match the colors to someone’s room theme, favorite ocean shades, or a nursery palette you already know they love.
Conclusion
Easy Sea Turtle Crochet Patterns are such a relaxing, happy make—simple shapes, sweet details, and endless color options that let your creativity shine. If you want to explore a few fun turtle variations next, take a look at the No Sew Crochet Turtle Amigurumi Plush, the charming Fred the Sea Turtle free crochet pattern with video tutorial, or this free crochet turtle pattern with a beginner-friendly video tutorial.
Make one little turtle today, or keep going and create a full ocean-themed set that’s ready to gift, display, and cuddle.